
Whether you picked up your Take and Make kit from outside of Roberta’s Art Gallery or are checking out this craft on your own time, for your Tulle Flower craft you should have the following materials:
Materials:
- 7 or 8 pieces of colored tulle
- A piece of ribbon about 9 inches long
Materials not included in kit:
- Scissors
Step 1
Lay all of the pieces of tulle on top of one another. Cut them to be around the same length if they are not already.
Step 2
Starting from one end, fold the stacked tulle like a paper fan. Fold the tulle about two inches over and crease the material the best you can. Flip the tulle while holding the fold down and repeat, folding in the opposite direction. Continue folding in opposite directions until you have folded all of the material.

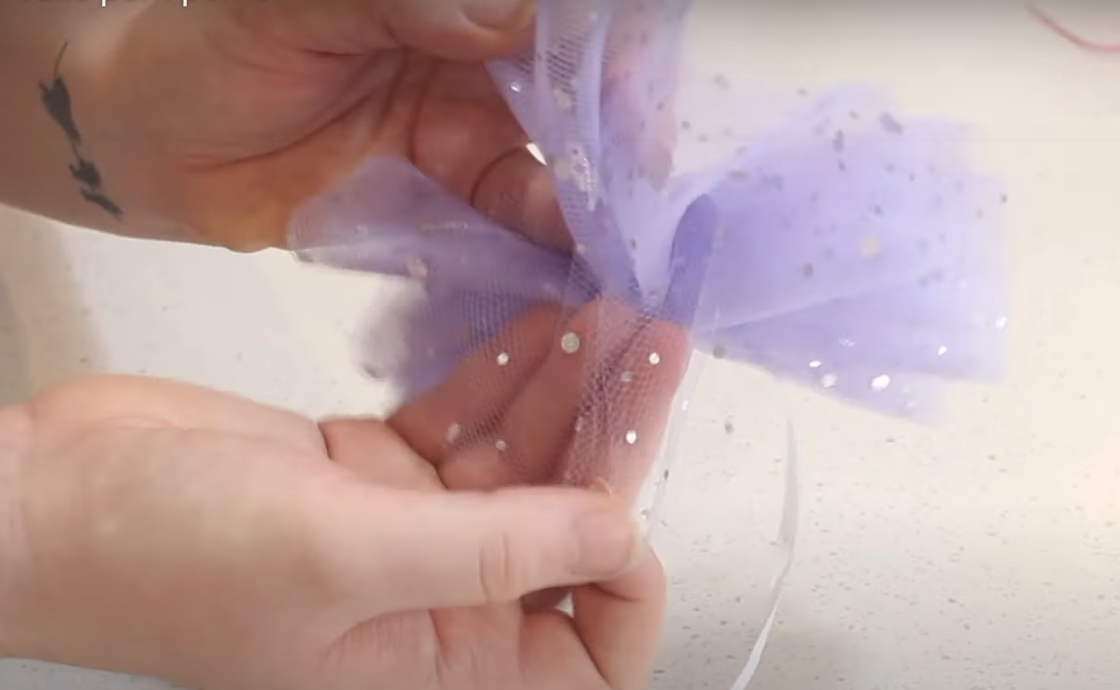
Step 3
Once your tulle is completely folded, tie the ribbon around the middle of the tulle to hold the folds together. You can leave the ribbon longer if you plan to hang the tulle flowers, or you can cut it shorter to hide the ribbon.
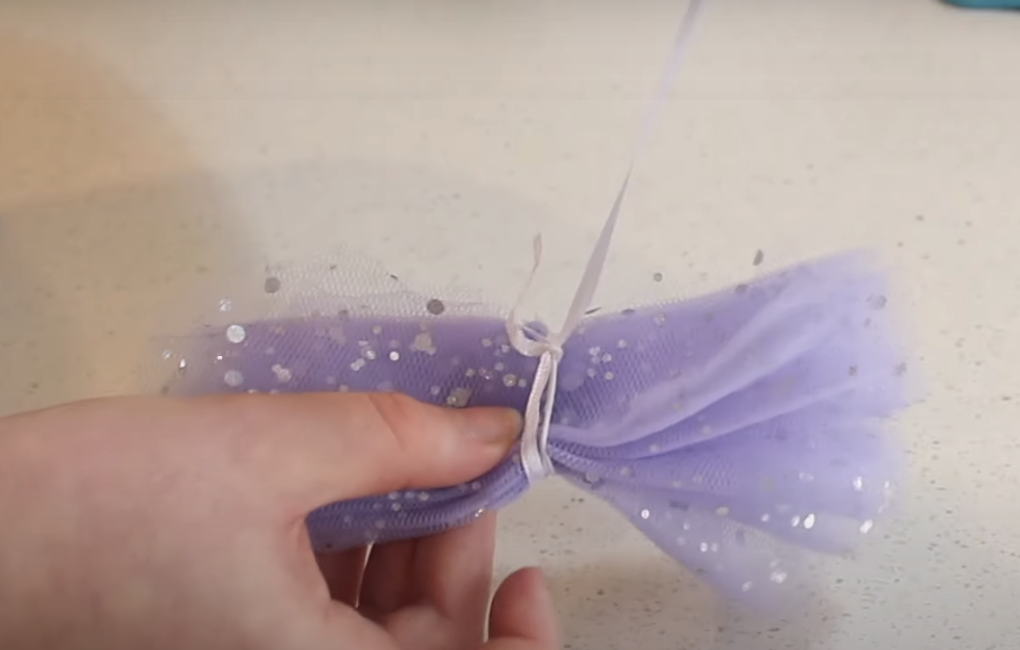
Step 4
Cut the edges of the folded tulle so the edges are the same length. Pull each piece of tulle away from the ribbon to “fluff” the flower, noting that each layer of tulle should be separated.

(Please note that all pictures are screenshots from the YouTube video “DIY Tulle pom-poms!” by It’s a Party on YouTube, and are credited to them. Check out their video here for a video tutorial on this craft.)
I hope you love your new Tulle flower craft, and now you know how simple they are to craft! Find a good spot in your home for this, or gift it to a loved one. You could even make many of these at once and hang them as a beautiful decoration, working great for parties or other events. As always, just keep crafting!

Leave a Reply