
Nothing can brighten up your day better than some fun plants! On the contrary, the idea of plants can be quite scary since we are not all gifted with a green thumb. Luckily, today’s craft can cheer you up, bring some color into your day, and best of all, there is no watering required! Let’s jump in and make a rock cactus garden of our own!
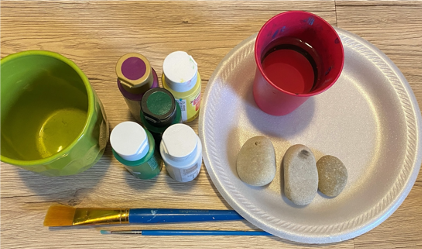
Necessities:
- 3 Rocks (round and flat preferable
— I found these just outside of my house!)
- You can use less, just make sure that the rocks are bigger in size
- Green(s) and White Paint
- Paint Brushes
- Cup of Water
- Plate (something to put your paints on)
- Something to put your cactuses in (terracotta pot, bowl, mason jar, etc.)
- Dirt or little rocks (to set your cactuses in)
Optional Tools:
- Yellow and/or Black Paint
- White Paint Marker
- Hot Glue
- Little rock ( to make flower)
- A Bright Color Paint (for flower)
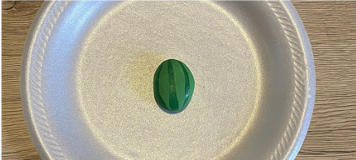
Step 1: Paint your rocks (on both sides) different shades of green, and let them dry completely. After the rocks have completely dried, repeat Step 1. By having two layers of paint, will ensure that all of the cracks and divots are filled; as well as ensuring that there is a solid base for your design.
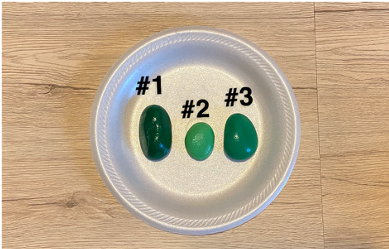
**Note: If you only have one color green, THAT’S OKAY! Mix your green with different amounts of white, black, or yellow paint! Doing this will give you different shades of green to create depth and more color between your cactuses.
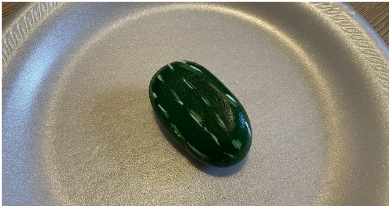
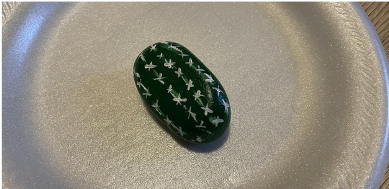
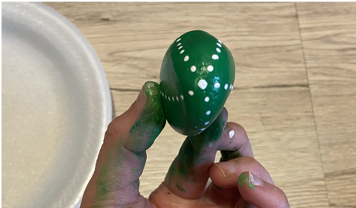
Step 2: Take your tallest and thinnest rock, Rock #1, and with a different shade of green, paint thin, dashed lines in rows on both sides of the rock. Repeat this step except using white to go in line with the dark marks. After this, make small, white x’s along these lines. **Cactuses and rocks are just like humans, none of them are perfect! Do not worry about perfecting marks, give your little cactuses some character!
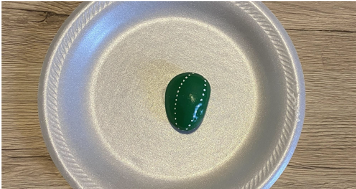
Step 3: Take Rock #2, smallest rock, and with an opposite shade of green, paint lines that go from the bottom of the rock to the top. Make the lines so that they are thicker on the bottom, and thin on the top. Once these lines have dried, paint small, white dots on every line throughout the rock.

Step 4: Take Rock #3, and starting at the top of the rock, paint white dots in lines all around the rock. In between those lines, paint other small dots in between the original lines of dots.
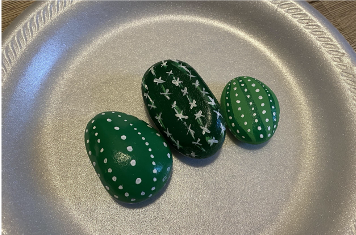
Step 5: Once all three of your little “cactuses” are done drying, take them and arrange them in some dirt and rocks so it looks like your cactuses are growing out of the dirt.
Bonus: If you have other colors of paint and a hot glue gun, make a little flower for one of your cactuses. Paint a small rock whatever color you’d like, make it pop, and hot glue it to the top of one of your cactus rocks.
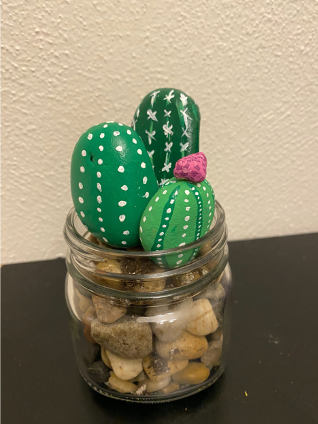
You rock cactus garden is now COMPLETE! This craft will brighten up your room, desk, table, or wherever else you would like to put it; you could even carry it from room to room if it would make you smile! If a cactus garden isn’t quite your “thing”, but you like the craft, give your new garden to someone close to you, they could use a smile too. No matter what, have fun and enjoy your new little friends!
As always thank you for crafting with me, and don’t forget to tune in next week. Keep it creative!
Your Craft Corner Guru,

Leave a Reply