Glass Cutting: Shape it up
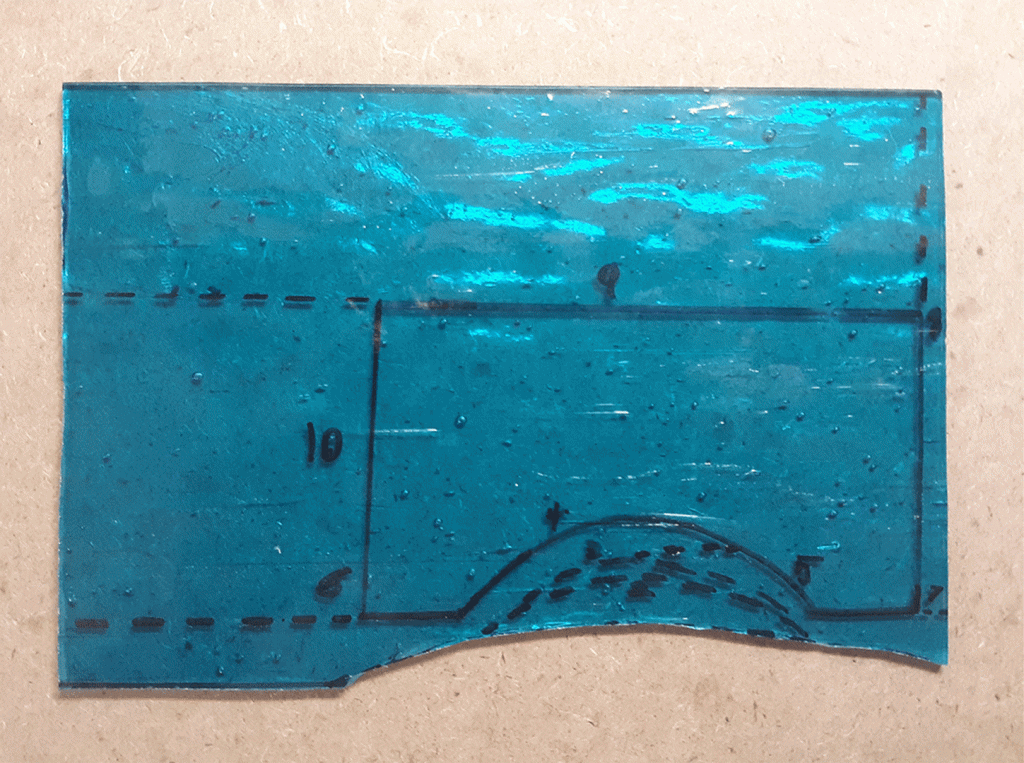
Every piece of stained glass you ever cut will consist of strait lines, Concave curves (those that bend towards the inside of the piece), Convex curves (those that bend away), or a combination of all three. In this post, I will demonstrate how to perform these cuts using three separate shapes.
Normally when cutting out a shape, I would try to position it in a way that would cause the least amount of scrap glass when cutting. But for the sake of these demonstrations, I’ve placed the shapes in the center of the glass.
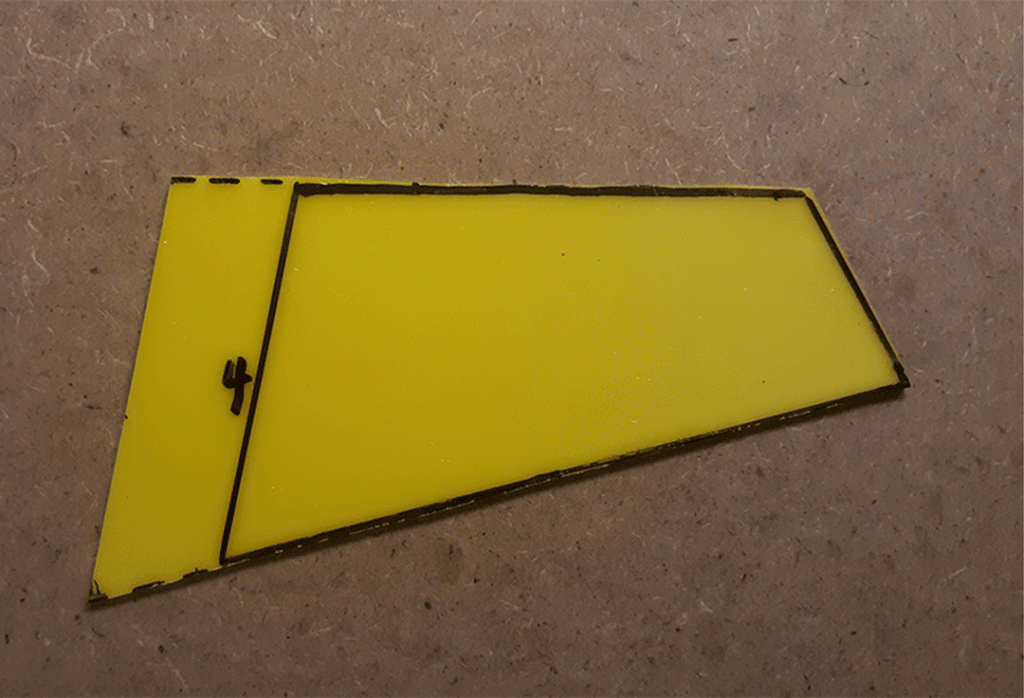
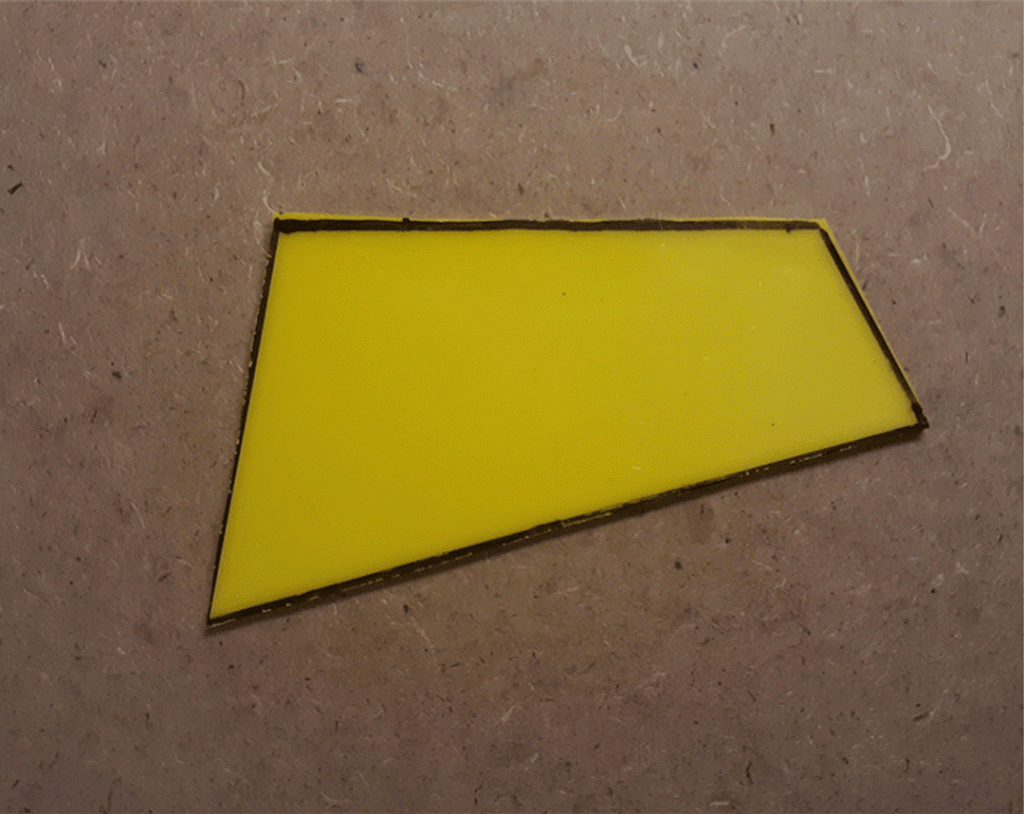
1st Shape – Trapezoid
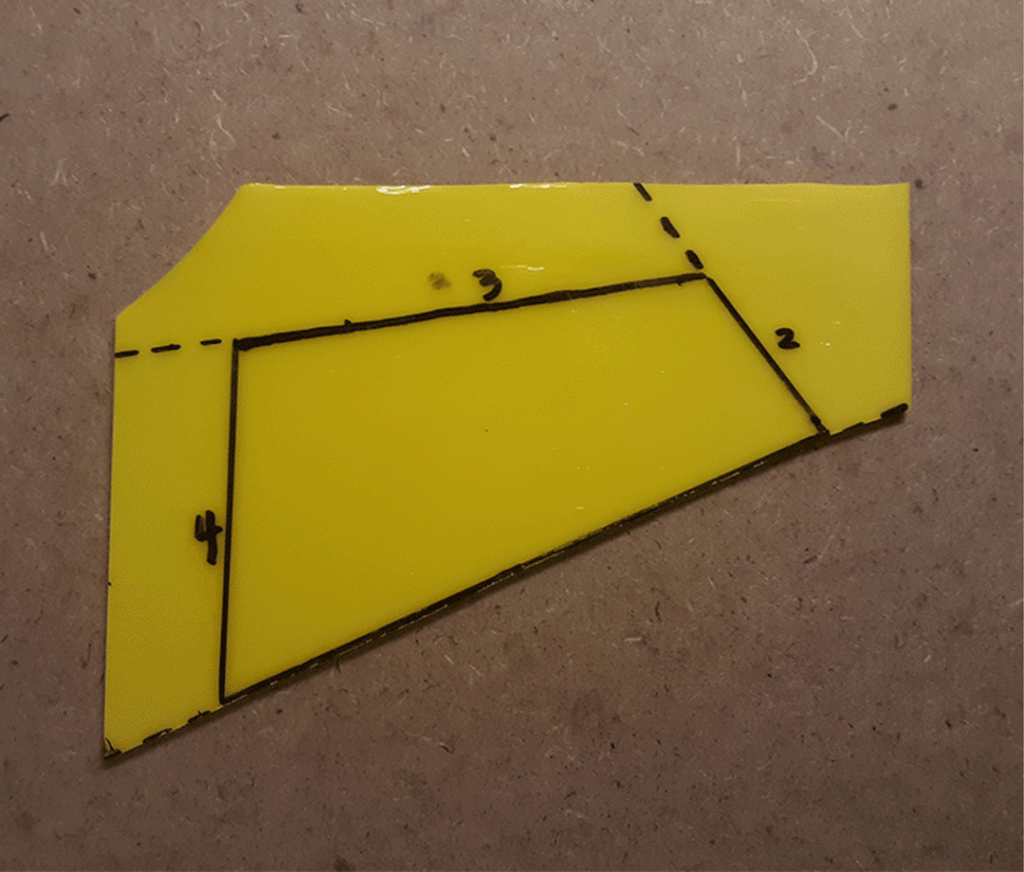
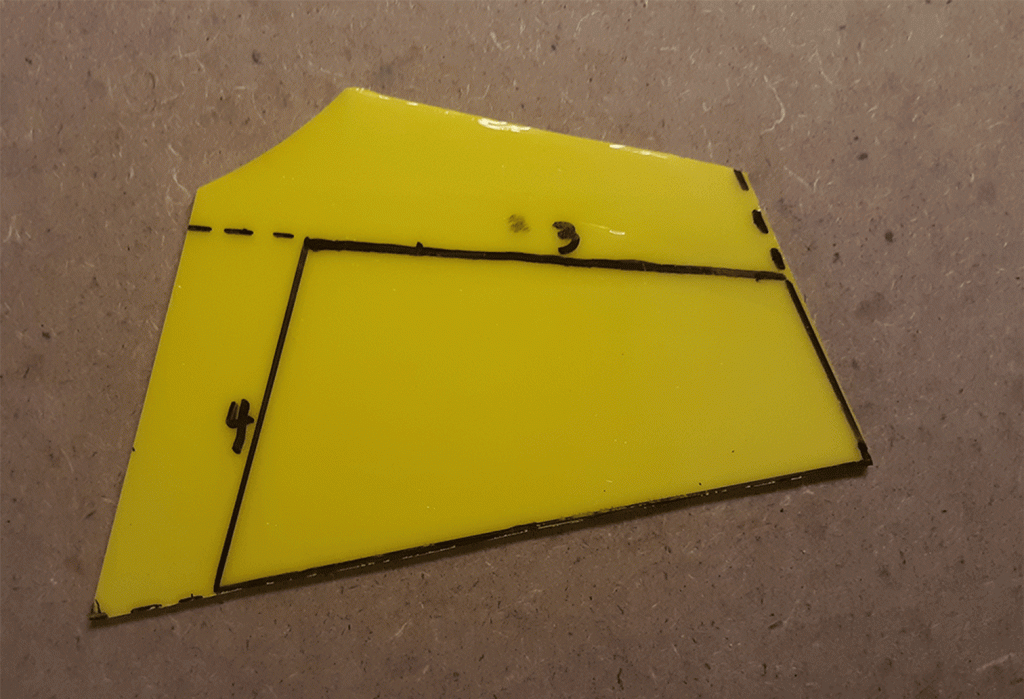
The first shape we’ll be cutting out is a trapezoid.

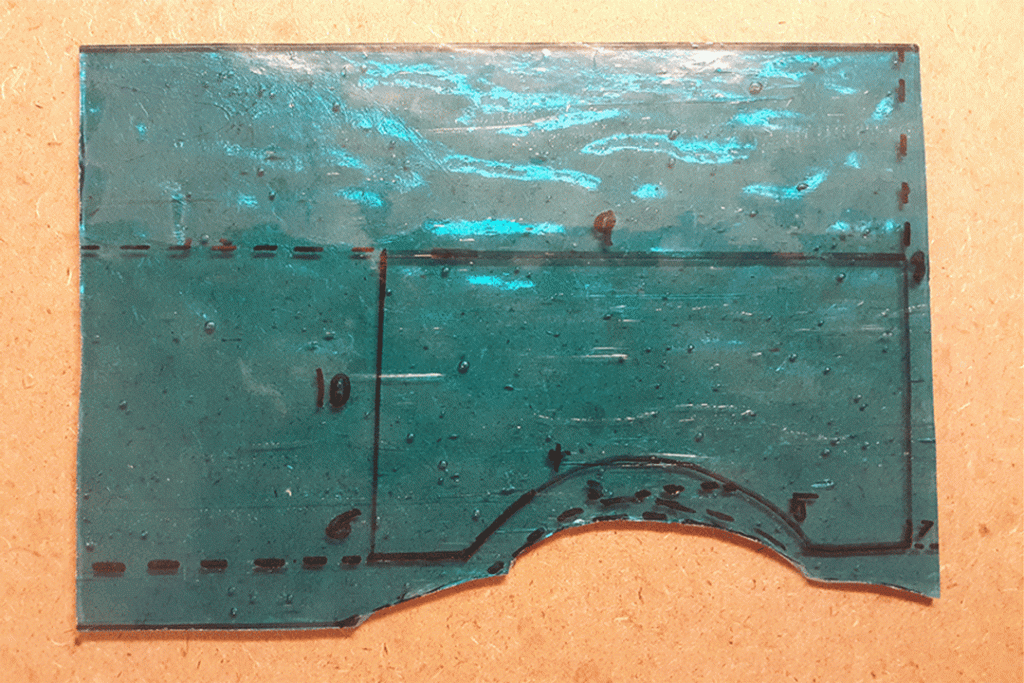
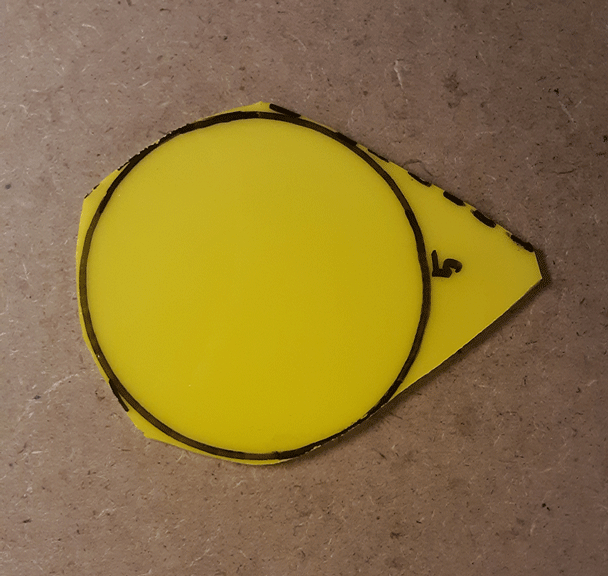
Note: The numbers in the images indicate the recommended order in which you make your cuts.
When making more complicated cuts, you should study the template you create and try to visualize how each score will affect subsequent scores.
2nd Shape – Arch
The second shape is what I like to call an arch, which combines straight-line cutting with a tricky to score inside curve.

An inside curve like this one must be carved out through a series of small, archlike cuts that remove sections of glass gradually to reduce the risk of accidental cracking. If you just ran the cutter along the inside curve in one score and tried to break it, the glass would most likely cause the piece to split jaggedly outward towards the edges.
There will be times were you might have to re-draw a line in a different position in order to cut out the shape.


With the tricky part out of the way, continue making straight cuts until you have your shape.


3rd Shape – Circle
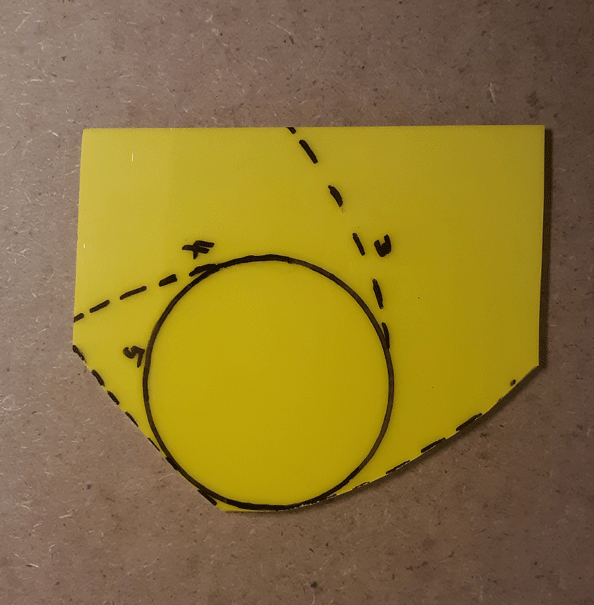
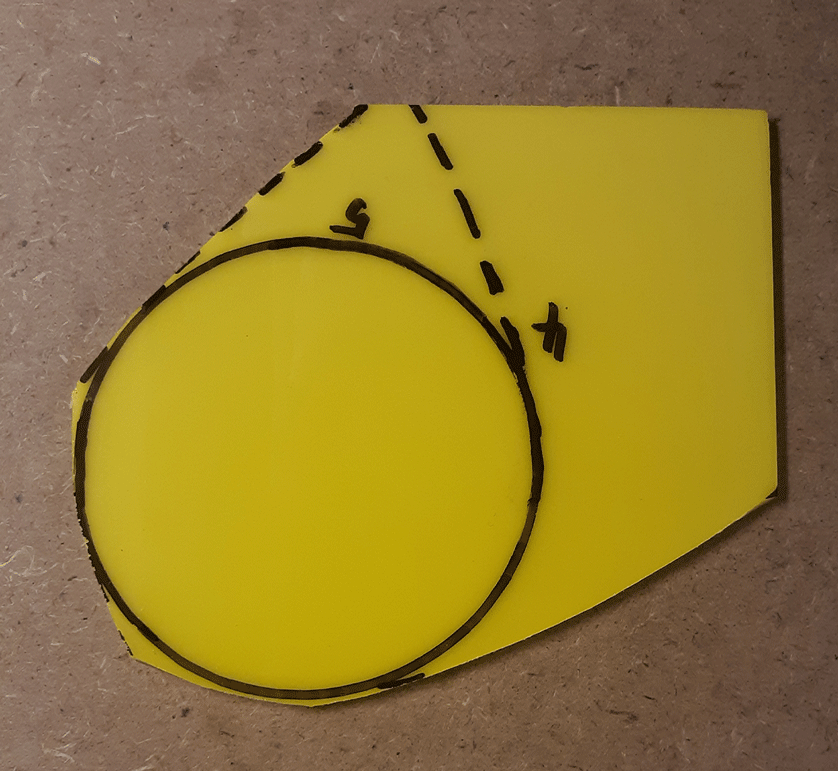
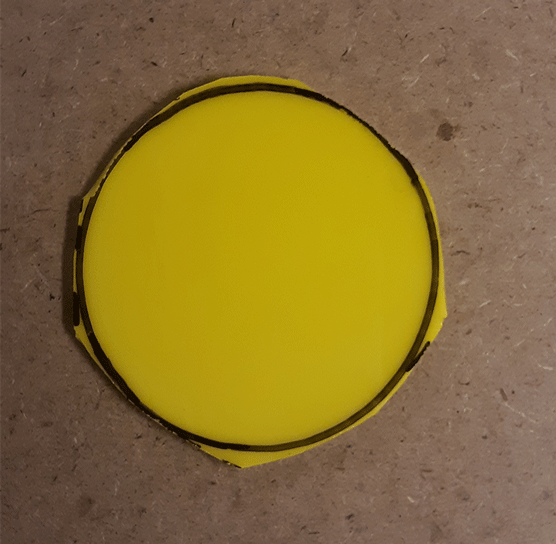
The final shape we’ll be cutting out is a circle, which will have you making multiple convex arcs.

Begin by cutting at the edge nearest you and continue in one fluid motion until you reach the edge.

After breaking the excess glass along the score line, rotate the piece clockwise and repeat the process.
Finally, make a score mart along the circle connected to the excess glass and snap it off.
It’s ok if your shapes aren’t perfectly cut out because in the next blog post I’ll be discussing how to correct this using a glass grinder.
Filed under Uncategorized | Comment (0)Glass Cutting: Breaking the Glass
After you make your cut, you need to break the glass apart. Start by gripping the glass so that your thumbs rest on either side of the score mark. Your two index fingers should securely grip the underside of the glass on either side as well.
While holding the piece firmly, rotate both hands out and away from each other in a quick, snapping motion with your wrists. If you scored the glass correctly, it should break cleanly along your line.

NEVER try to break the glass using an inward motion! This puts pressure on the strong, unscored underside of the glass first and could instantly shatter the glass in your hands!
Sometimes you’ll need to make a score that’ll be difficult to break with your hands. A great tool for breaking lines like these is a pare of running pliers. The tool gets its name from the way it causes the glass to crack or “run” cleanly along a score line. The bottom jaw of the pliers has a raised lip in the center that acts as a pressure point on the glass.

To use your running pliers, place them along the edge of the glass with the lip under the score line. Then simply squeeze the pliers together, forcing the glass to gently separate along the score.
When making stained glass artwork, it’s important not to let the little things frustrate you. There’ll always be those times when your glass doesn’t end up snapping the way you want it to. Heck, I’ve been working with stained glass for 5 years now and I don’t think there has ever been a project where the glass behaved exactly the way I wanted it to. You just have to learn from what went wrong and try again.
Filed under Uncategorized | Comment (0)Glass Cutting: Making the Cut
Now that you know how to properly use your cutter, it’s time to learn about cutting and breaking your glass. Before we get started, let me clarify something. The term “Glass cutting” is a little misleading because you aren’t really cutting the glass itself. What you’re actually doing is scratching a line onto the surface of the glass, which is referred to as scoring. What this line does is create a weak point where the glass can be snapped apart cleanly.
For anyone wanting to practice at home, I recommend using some scrap pieces of smooth cathedral glass. If you don’t have any scrap glass, then find a fairly inexpensive sheet of smooth glass to use instead.
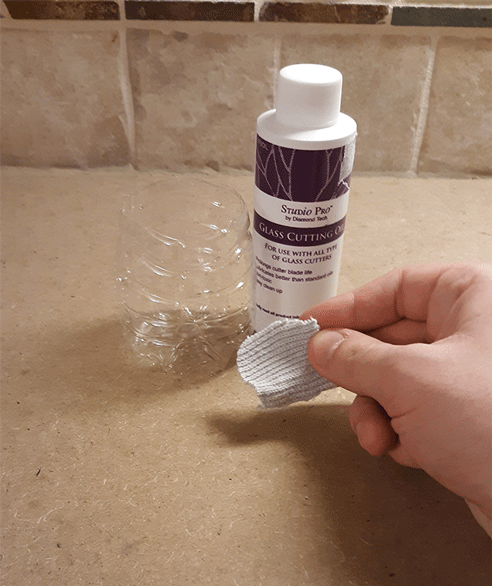
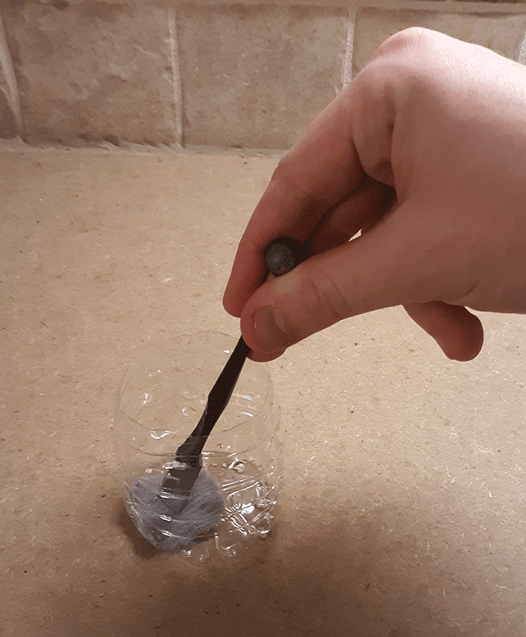
Make sure you’re cutting weal is lubricated before and after every cut. An easy way to do this is by taking a small scrap of cloth and soaking it in a cap full of wheel cutting oil. Then tap the wheel against the cloth to lubricate it. Also, make sure you’re wearing safety goggles when cutting glass!
To start your cut, put the wheel down on the side of the glass nearest you, as close to the front edge as possible. For this practice cut, make sure there will be at least an inch of glass on either side of the score when you are done to make breaking easier.

Apply enough of a firm downward pressure so that the wheel is able to make contact with the glass without slipping. Pressing down too hard may cause the glass to crack; if your line ends up looking white and powdery, you’re probably pushing down too hard. Pressing down too lightly may allow the wheel to slip or produce an incomplete cut.

While applying pressure, slowly push the cutter forward at a steady and even pace so the carbide wheel turns against the glass. A good score sounds like a piece of paper being torn in half. Make sure to stop your cut as close to the edge of the glass as you can without actually touching it (around 1/8 inch away is a good rule of thumb). Cutting all the way to the edge can cause the glass to crack and splinter, which could ruin the piece your scoring.

NEVER try to rescore a line you’ve already cut! This could cause the glass to break unpredictably, and you run the risk of damaging the cutting wheel. If you’re not confident in a cut you make, just make a new one.
Filed under Uncategorized | Comment (0)Glass Cutting: How to hold your Cutter
Before I discuss this weeks topic, I wanted to say that there is a lot of information to cover when it comes to the cutting of stained glass. To make the information easier to digest, I plan on breaking the glass cutting process into three different categories: Holding your cutter, Cutting & Breaking the glass, and Cutting different shapes.
For this week’s post, Ill be going through the basic technique of how to properly hold your wheel cutter. Now this isn’t the one-and-only way to hold you cutter. But until you’re more comfortable cutting glass, I’d recommend starting with this technique, as it’s the best one for beginners.
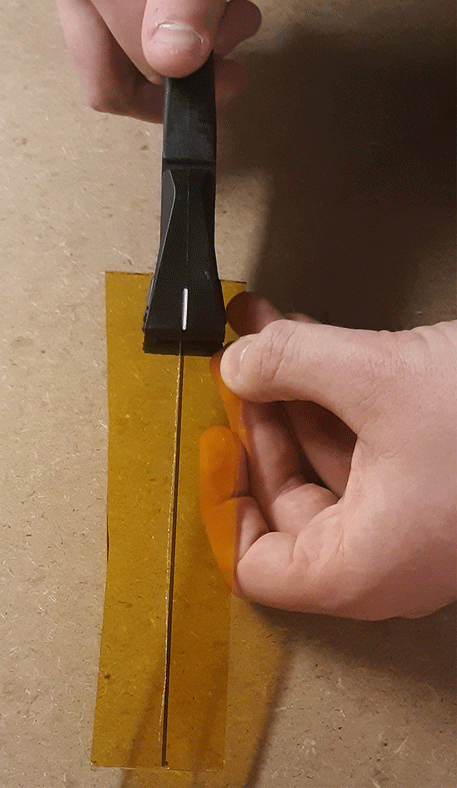
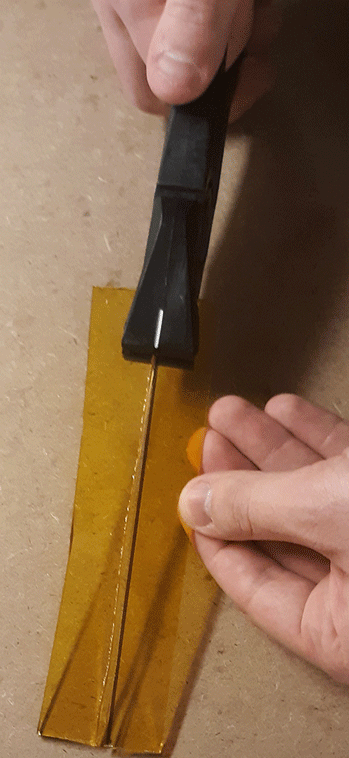
To hold your wheel cutter, first place it between the pointer and middle finger of your dominant hand as shown in the image below.
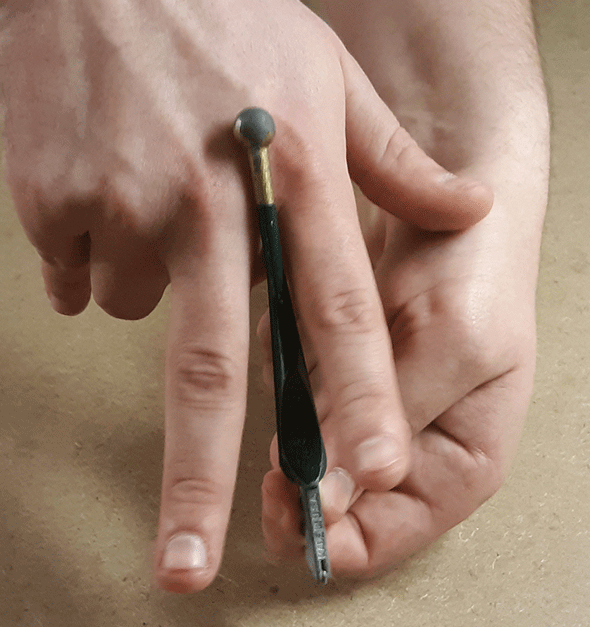
Next, close your pointer finger and thumb down on the divots of the cutter. This way your pointer finger will act as a guide to keep the cutter moving straight. The ball of the cutter should rest in the crotch of your fingers, just below the knuckles.
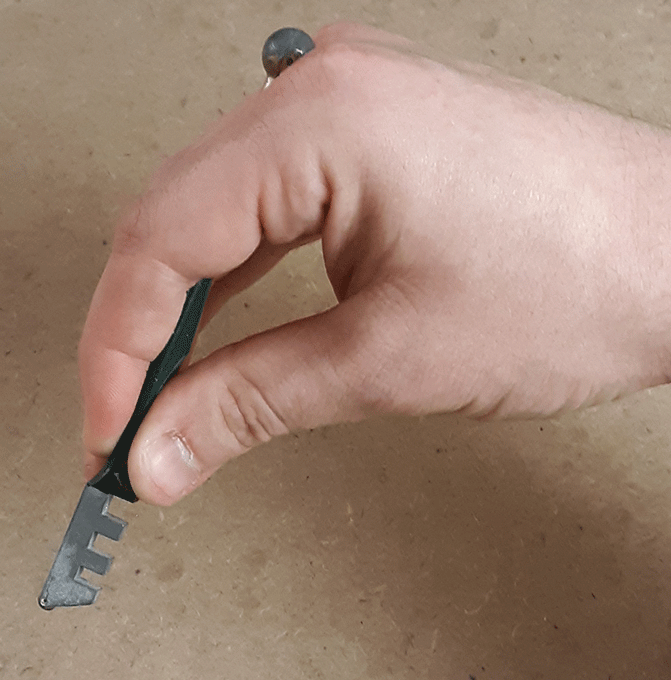
Finally, with your other hand, place your thumb on the top of the cutter and your pointer finger along the shaft holding the cutting wheel. This is done to help provide downward pressure and help guide the cutter.
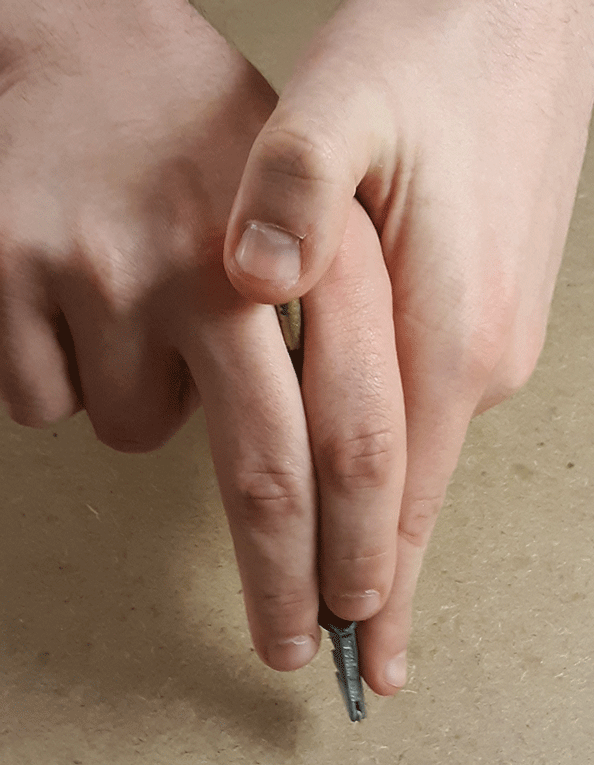
Before you go practicing on glass, you should really get a feel for how it feels to grip the cutter in this way. I know how awkward it feels at first, but after some time and practice, you’ll get the hang of it.
Filed under Uncategorized | Comment (1)Understanding your Glass
A good craftsman is one who understands the materials of their trade inside and out. The same can be said about working with stained glass. Before you go cutting and breaking apart glass to work with, it helps to know about how it’s formed and the various types that exist.
For the most part, stained glass is typically created when a mix of sand, ash, metal oxide colorings, and other ingredients are heated to incredibly high temperatures to create a molten liquid. The liquid is then either blown or rolled into a thin sheet and left to cool. This process was originally done by hand, but can now be replicated with the help of machinery. One thing to note is that both techniques can result in various changes to the glass, such as its appearance, texture, and price.
Within the stained glass community, there are typically two categories of glass: Cathedral and Opalescents.

Cathedral glass is transparent, meaning light can pass through it easily. Because of this, it’s often used in projects designed to be backlit by the sun. Cathedral glass panes are great for beginners because, not only are they made in a variety of different colors and textures, they’re fairly easy to cut.

Opalesents have a milky, dense quality to them. As a result, light has a harder time transmitting through the glass. Most Opalesents are considered semi-translucent, meaning they allow some lite to pass through it, while some are virtually opaque and allow no light to penetrate at all.
Within these two categories of stained glass are subcategories, such as Antique, Iridescent, and Art glass.
Antique glass gets its name not because of its age, but from the traditional way it’s produced. When the glass is melted into a molten liquid, it’s then blown into thin sheets and allowed to cool. Because this process is more labor-intensive, Antique glass can be a little more expensive to buy.

Iridescent glass is created by adding metallic elements that are then fused with the glass itself. This results in an additional sparkling or shimmering effect.

Art glass is unique in that it can have characteristics of both Cathedral and Opalescent glass. Due to the glass’ higher quality, it’s typically more expensive than other mass-produced glasses.
With all the different choices out there, choosing what glass to buy can seem daunting at first. For anyone new to stained glass, I would recommend buying Cathedral glass to start out. Not only is it generally the cheapest of the two categories, its also easier to cut. After you get more comfortable with cutting glass, then you can move onto other sub-categories.
There’s one last thing to always keep in mind when picking out stained glass: What glass you choose to buy all depends on the kind of project you’re working on. Consider where it will be presented; Is it meant to be hung on a wall or a window? How does the glass look with or without light piercing through? Does the glass complement/work well with other sheets your using?
Let me give you an example of just how much of a difference light can make glass look:

Here we have an Opalescent piece of red glass. As you can see, it has some wispy patterning to it, but for the most part the color is pretty consistent when light is piercing through.

Now here’s that same piece of Opalescent glass without light shining through it. Looks entirely different, right? In this image, you’re able to see the different patterns and colors of the glass that were impossible to make out before.
Keep all this in mind when perusing through stained glass your looking to buy for your next project!
Filed under Uncategorized | Comment (1)