Copper Foil: Types, Application, and Trimming
April 9th, 2021
After grinding down the edges of your pieces, you’ll need to apply copper foil around them. The reason we use copper foil is because it acts as a surface for liquid solder to bond to. Most foil sold for stained glass comes in tape like rolls that have an adhesive backing to better stick to the glass.
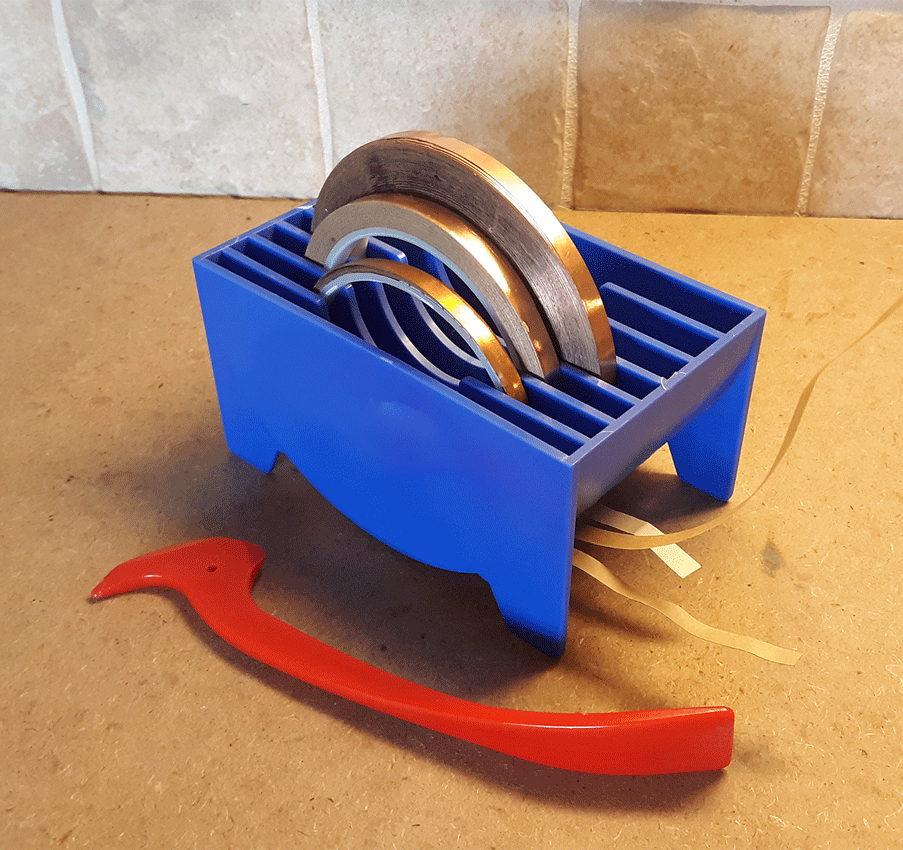
In the image below I have my copper foil dispenser and fid. If you plan on making stained glass making a hobby, I highly recommend picking yourself up a dispenser. It acts as a handy storage box for my foil rolls that also keeps them from unraveling during use. To assist in the foiling process you’ll want to use a Fid in order to burnish the foil
Types of Foil
First you need to determine what kind of foil your project requires. Copper foil comes in many different widths; the standards being 3/16 inch, 7/32 inch, and 1/4 inch. The desired aesthetic of your project will determine the width of your foil. For daintier pieces where the solder lines are subtle, you’ll want a thinner foil. For a robust and strong looking solder line, use a thicker foil.
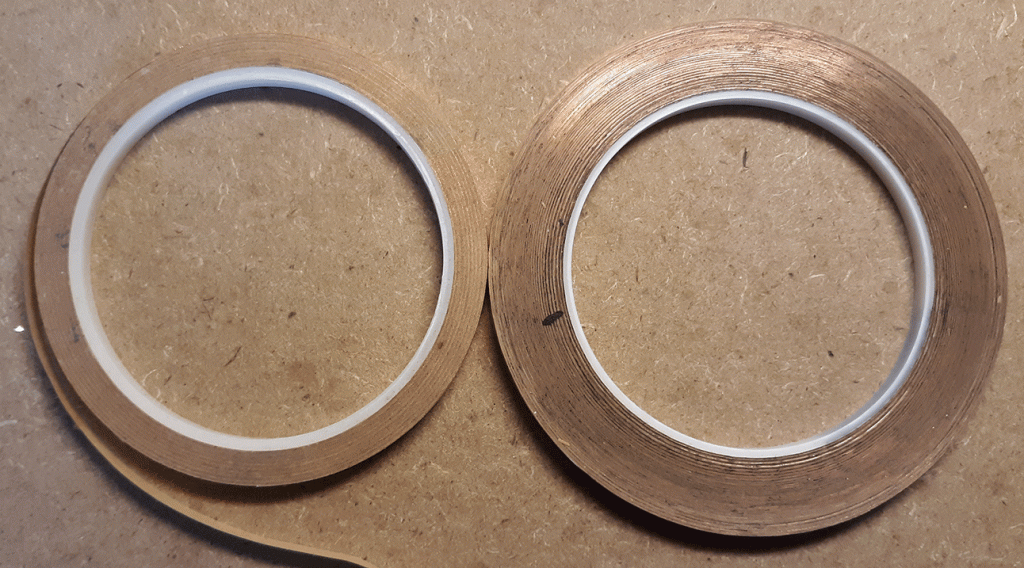
There are also two types of copper foil: Standard (Roll on the left) and Blackback (Roll on the right). Standard foil has the same shiny appearance on both sides, while blackback, as the name implies, has a matt-black coating to its back.
Normally, you’ll want to use blackback foil for more transparent pieces. This is because, depending on were you display your finished piece, light could reflect off the foils back and distract viewers.
Application
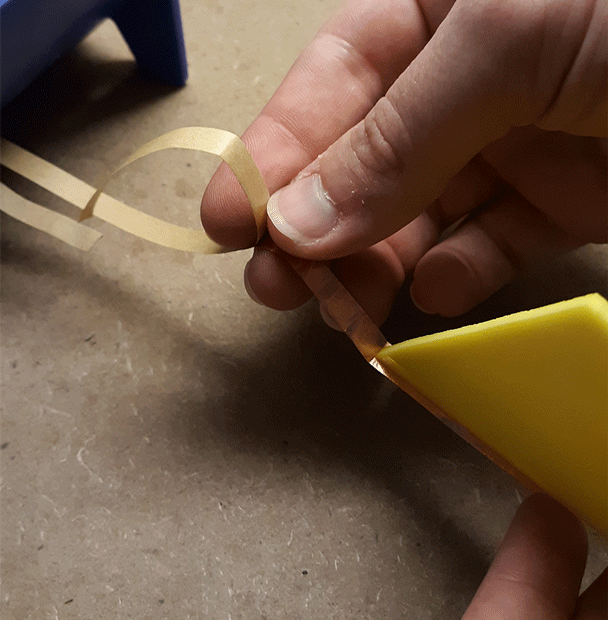
To beguine applying foil to your pieces, start by unrolling a short strip from the roll and peel away the backing from the foil.
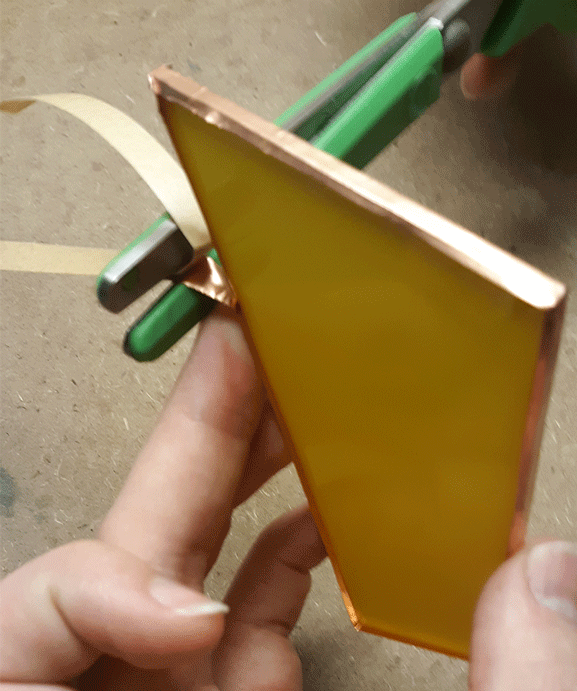
Next, apply the foil at the midpoint of one of the sides, that isn’t at a corner edge where it might have a hard time sticking to the glass. In the image below, I placed the foil where my right thumb is located on the piece.
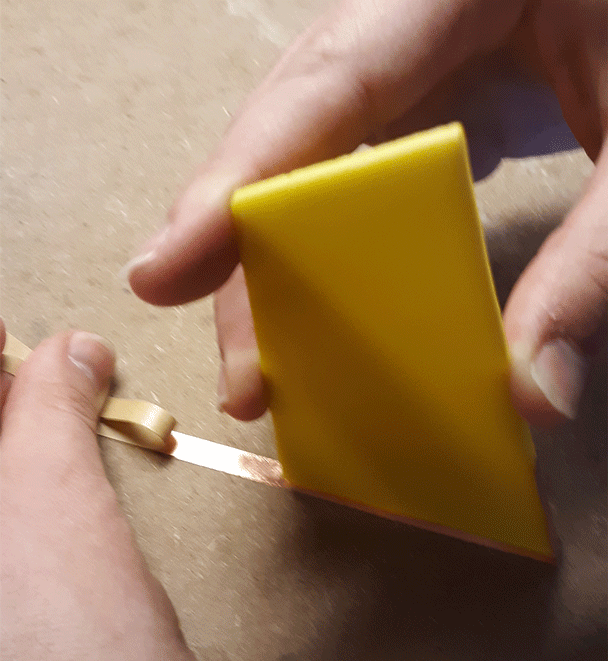
Keep the strand of foil under a bit of tension by pulling is as you press the adhesive side against the edge, turning the piece as you work. Keep the foil centered on the edge, so an equal amount of it hangs over each side.
If you noticed that the foil has been applied unevenly, simply peel it off and reapply it so that it’s straight. Don’t peel and reapply the same piece of foil more than a few times, otherwise the adhesive may lose its stickiness.
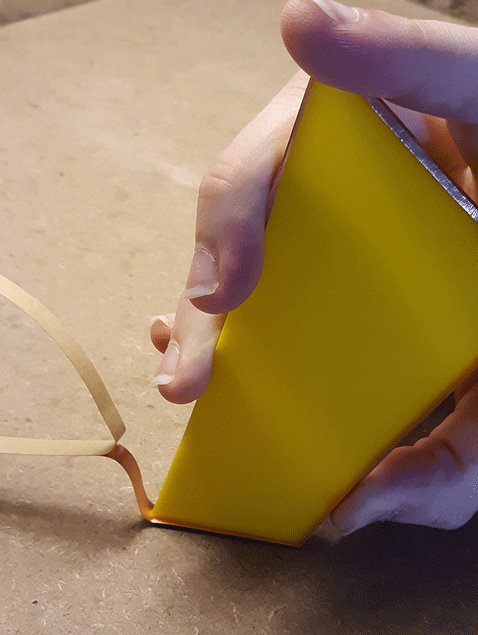
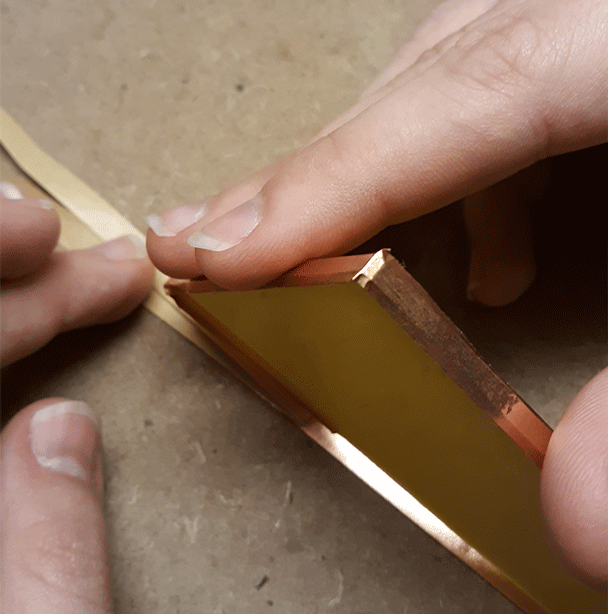
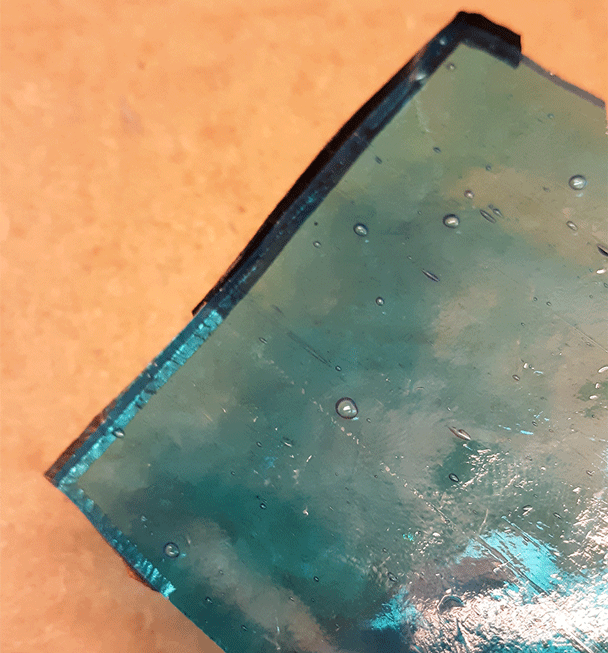
Continue foiling around the entire edge of the piece until you reach the starting point of the foil. Overlap the front and back ends of the foil slightly, trim the foil, and carefully fold down the overhanging edges so they stick to the glass.
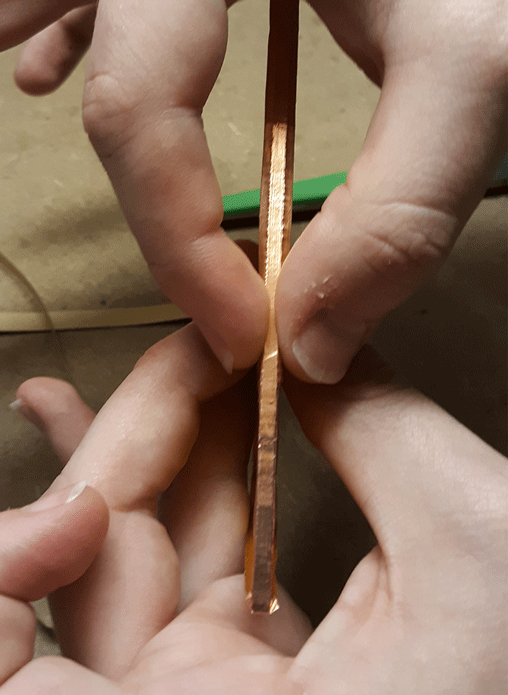
Once that’s done, carefully fold down the overhanging edges so they stick to the glass. I found the best way to do this is by using your index finger and thumb to fold down a small part of the foil. Then carefully pinch and pull your fingers across the glass until the foil sticks.
Now that your copper foil is wrapped around your piece, take your fid and press down any raised areas you see around the edges of the foil.
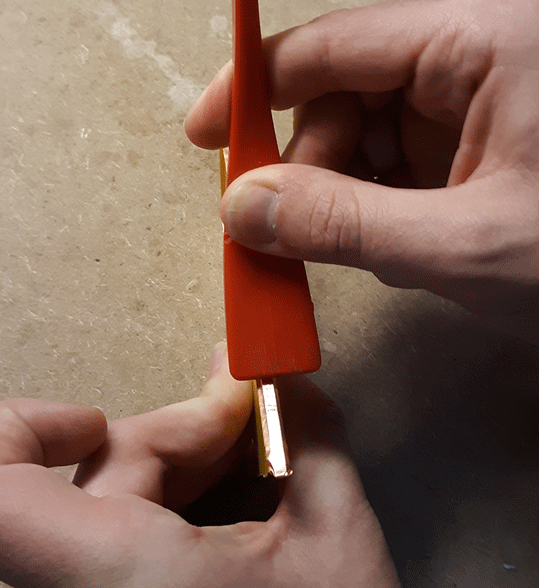
Then press down on the edges of the foil firmly and slide the fid across it until all the bumps are gone.
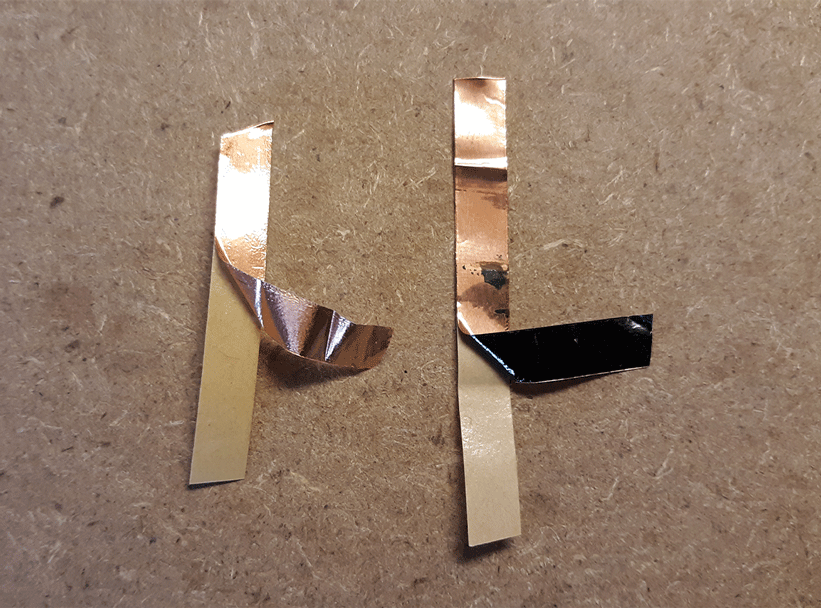
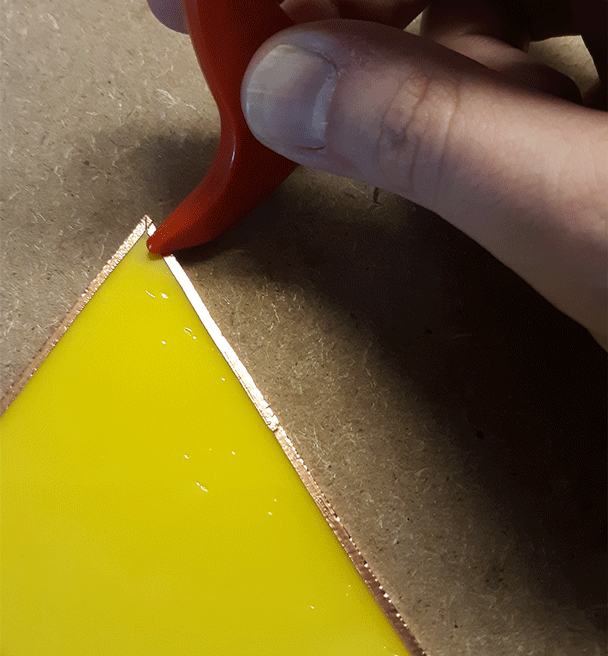
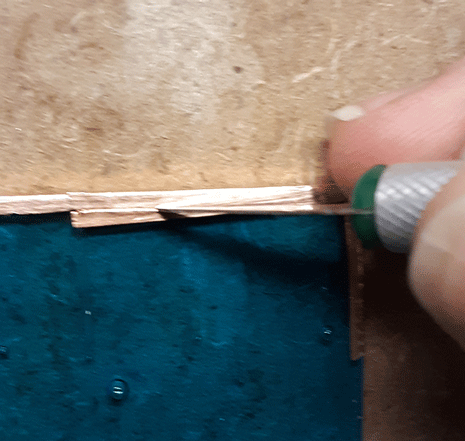
Trimming
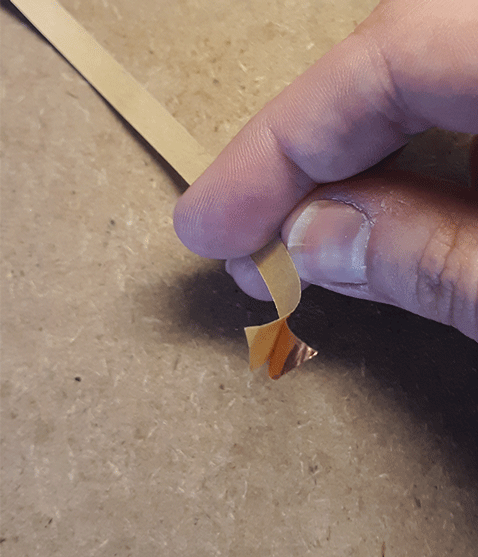
Sometimes you’ll make a less-than-perfect foiling job that can be salvaged with a few modifications using an exacto knife. Below is an example of a foiling job you can correct.
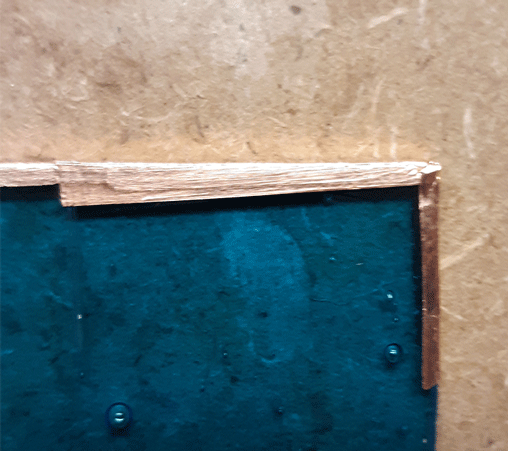
Simply trim the excess foil evenly so that it matches up with the corresponding edge. After making the cut, use the tip of the knife to peel away the excess foil.
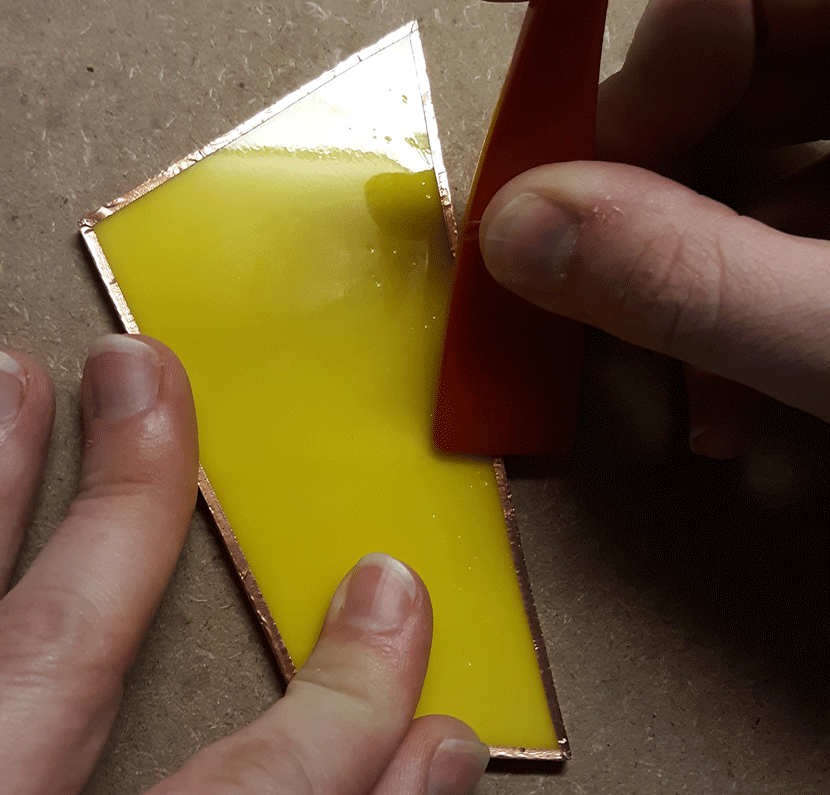
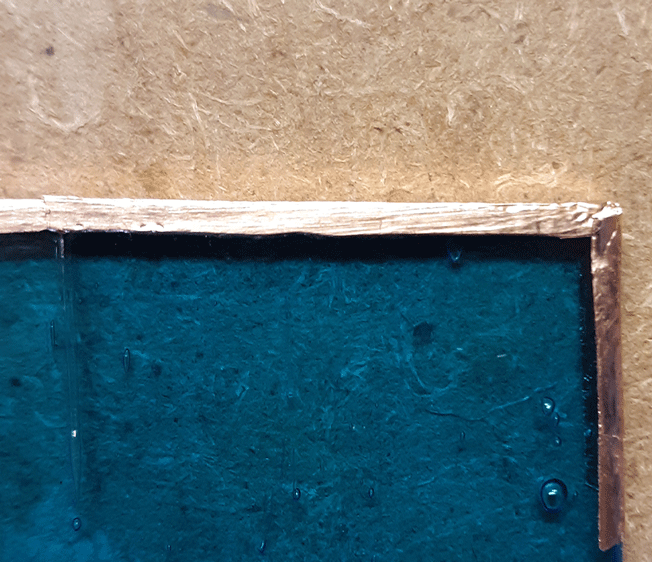
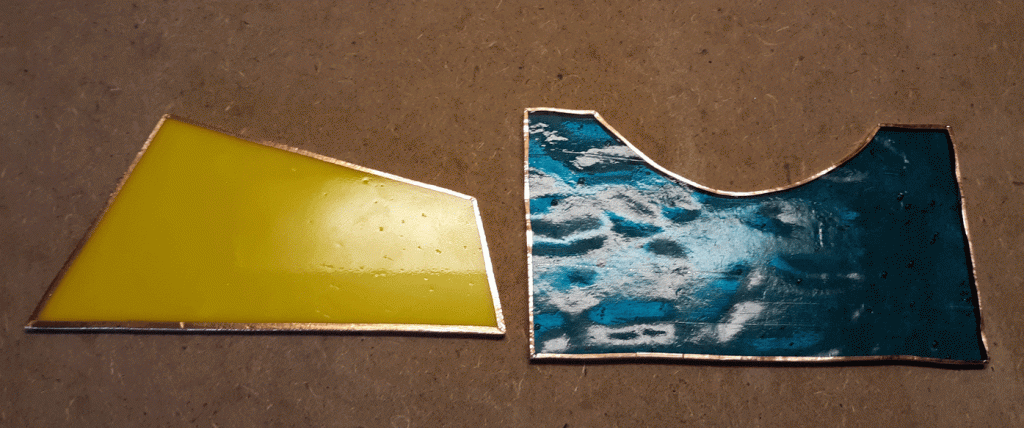
Once you’ve finished foiling, burnishing, and trimming your pieces, they should end up looking like this.
That’s all there is to it! It may take some time to getting use to lining up the foil evenly with your pieces (It took me a while to learn when I started out). But when it comes to developing any skill, time and practice leads to progress. So keep at it!
Filed under Uncategorized | Comment (0)