Being a college student, working girl and professional procrastinator has helped me be able to do my make up in very little time. Below are my simple steps to help create a natural polished eye look for the days when you are running a bit late…or don’t feel like spending hours in front of the mirror!
Step 1 Base
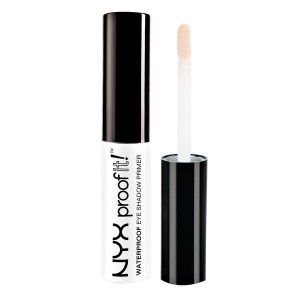
Start with a simple eye shadow base/primer. I know some people like skipping this step to save time but in the long run it’ll help your look stay put all day preventing you from have to do a mid-day touch up. I use NYX Waterproof Eyeshadow Primer. This is a great one especially since it has the added benefit of being waterproof. I just tap a little on my lid and blend the product on my entire lid and any remaining slightly up into my crease. I don’t go any further than my crease just to save time but if you want you can do it all over your lid and up to your brow bone. After I apply my primer I go over top with a nude shadow to help make my lid a uniform color.This also helps create a smooth base to blend other products on top of.
 Step 2 Contour
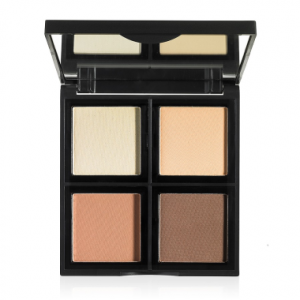
Next I go into my contour palette (a matte bronzer will work too) and I use a blending brush to apply a small amount of product into my crease. Make sure to really blend this for a soft look. The slightly darker color of your contour/bronzer in your crease will help create a natural shape to your eye which will make the look more polished while still remaining natural. I am currently using my E.L.F. contour palette and just using the darker shades avoiding the highlight color.
Step 3 Lashes + Liner
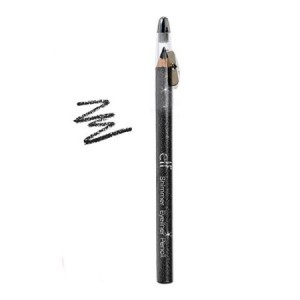
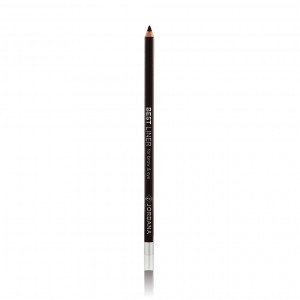
The next step involves curling your lashes with a lash curler ( I use my E.L.F. Mechanical Lash Curler) and then applying liner (I use either my E.L.F. Shimmer Eye Liner Pencil in Black or my Jordana Best Pencil for Brow + Eye in Dark Brown). For the liner, I choose which color I want to use depending on the look I’m going for. Brown is a more natural look. I suggest curling your lashes before you apply liner so you avoid removing liner and having to redo it.
Step 4 Mascara
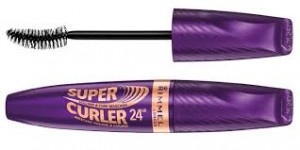
We’re already getting close to the end! Apply a mascara of your choice to your curled lashes wiggling the wand horizontally from root to tip to help fan out the lashes and give them some extra volume. If you get any mascara on your lid, for the love of all things holy, DON’T TOUCH IT RIGHT AWAY! Let it dry then wipe it off with a qtip (it’ll actually flake off). If you try to wipe if off right away while it’s still wet it’ll smear and ruin your shadow. I am currently using Rimmel London Super Curler 24Hr Mascara in Black. The formula helps keep lashes curled all day long which will keep you looking awake no matter what your day throws at you.
Step 5 Brows
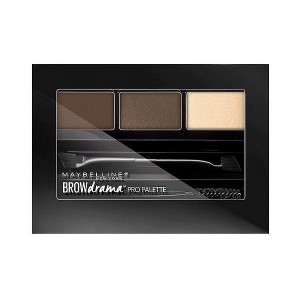
The last step is filling in your brows if need be. This is a fairly natural eye look so if you’re not someone who fills in their brows every day then don’t. It’s up to you, I like doing it because it helps pull the whole look together but it’s ultimately your choice. I am currently using Maybelline Brow Studio Palette in Auburn.



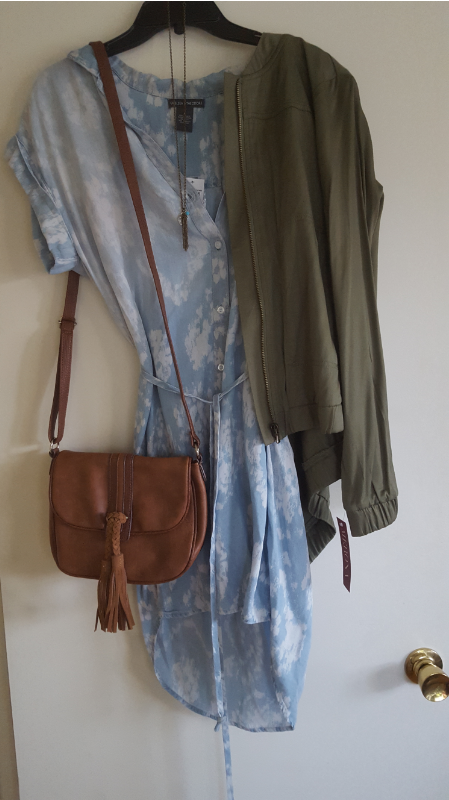 I only got the dress from the discount outlet but it was such a steal! It was originally $42 and I got it for$15! I love the casual look it has paired with the gradient of the denim. It’s soft and flowy but still has shape to it which is created by typing the belt at the waist. I paired it with an army green bomber jacket from Target. I wanted to give it a little bit of an edge which I think the jacket does very well. For accessories I played off of the jacket’s zipper which is a darker gold. I picked a necklace that is that same dark gold color but it also has a silver charm on it which plays well with the cooler look of the denim dress. Using both silver and gold in the necklace opens up many more options for the earrings. I made it cohesive by making sure to include a turquoise element just like the one found in the necklace.