Turn your favorite old shirt into your favorite new bag
Using your own shirt to make an easy-to-use reusable bag is a great way for you and your family and friends to practice reusing a common household item instead of creating waste. Most shopping trips usually ends with more plastic bags given out with your purchase, which are typically used once and end up in a landfill or polluting our local environment. Reusable bags are an easy way to avoid adding more plastic waste, but are often somewhat cumbersome to carry around.
This fun craft will transform a favorite old shirt into a bag that you can take with you on every shopping trip. Not only does this help reduce plastic waste from disposable bags, but it also helps reduce resource consumption and generated waste through textile manufacturing.
If you and your family are in need of shirts to transform, visit local thrift stores or donations center. For those near Whitewater, visit either Goodwill or The Thrift Shoppe.
Follow these steps for your new bag
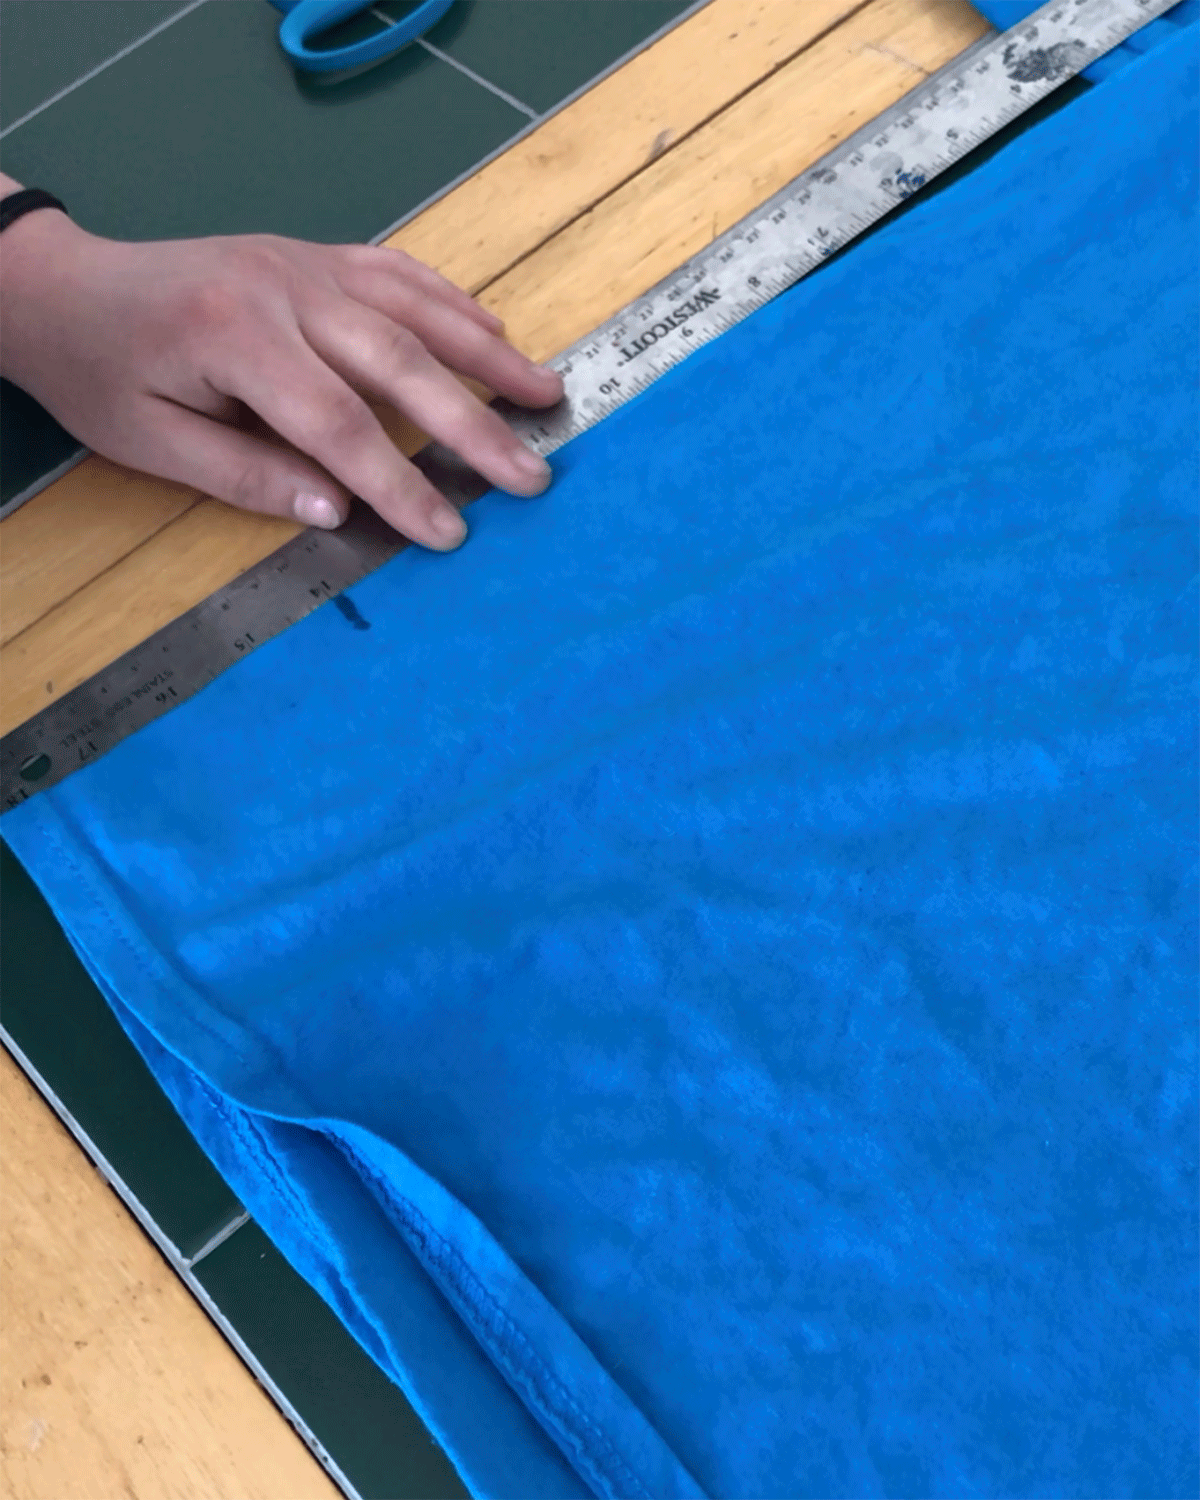
1. Gather a marker, scissors, ruler, and your shirt.
2. Start by measuring 3 inches from the bottom of your shirt and make a small mark. From this mark draw a light line across your shirt.
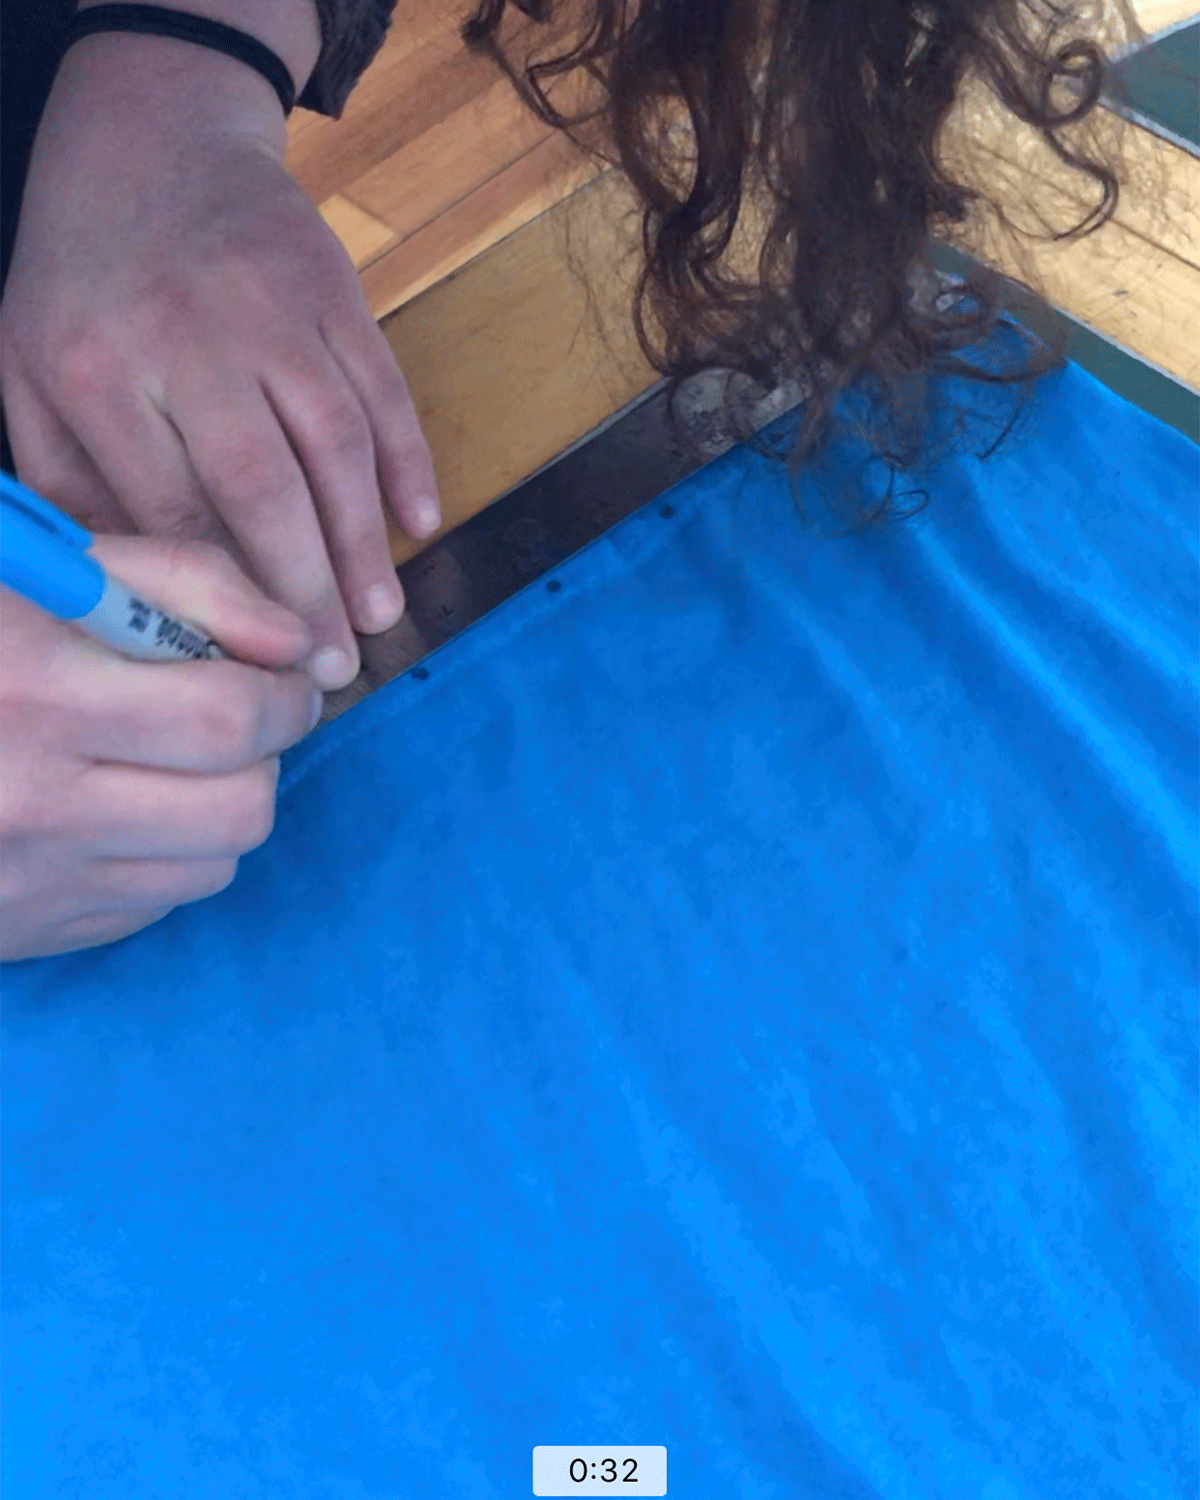
3. Next along the bottom of your shirt mark every inch. This will be used to make incisions later.
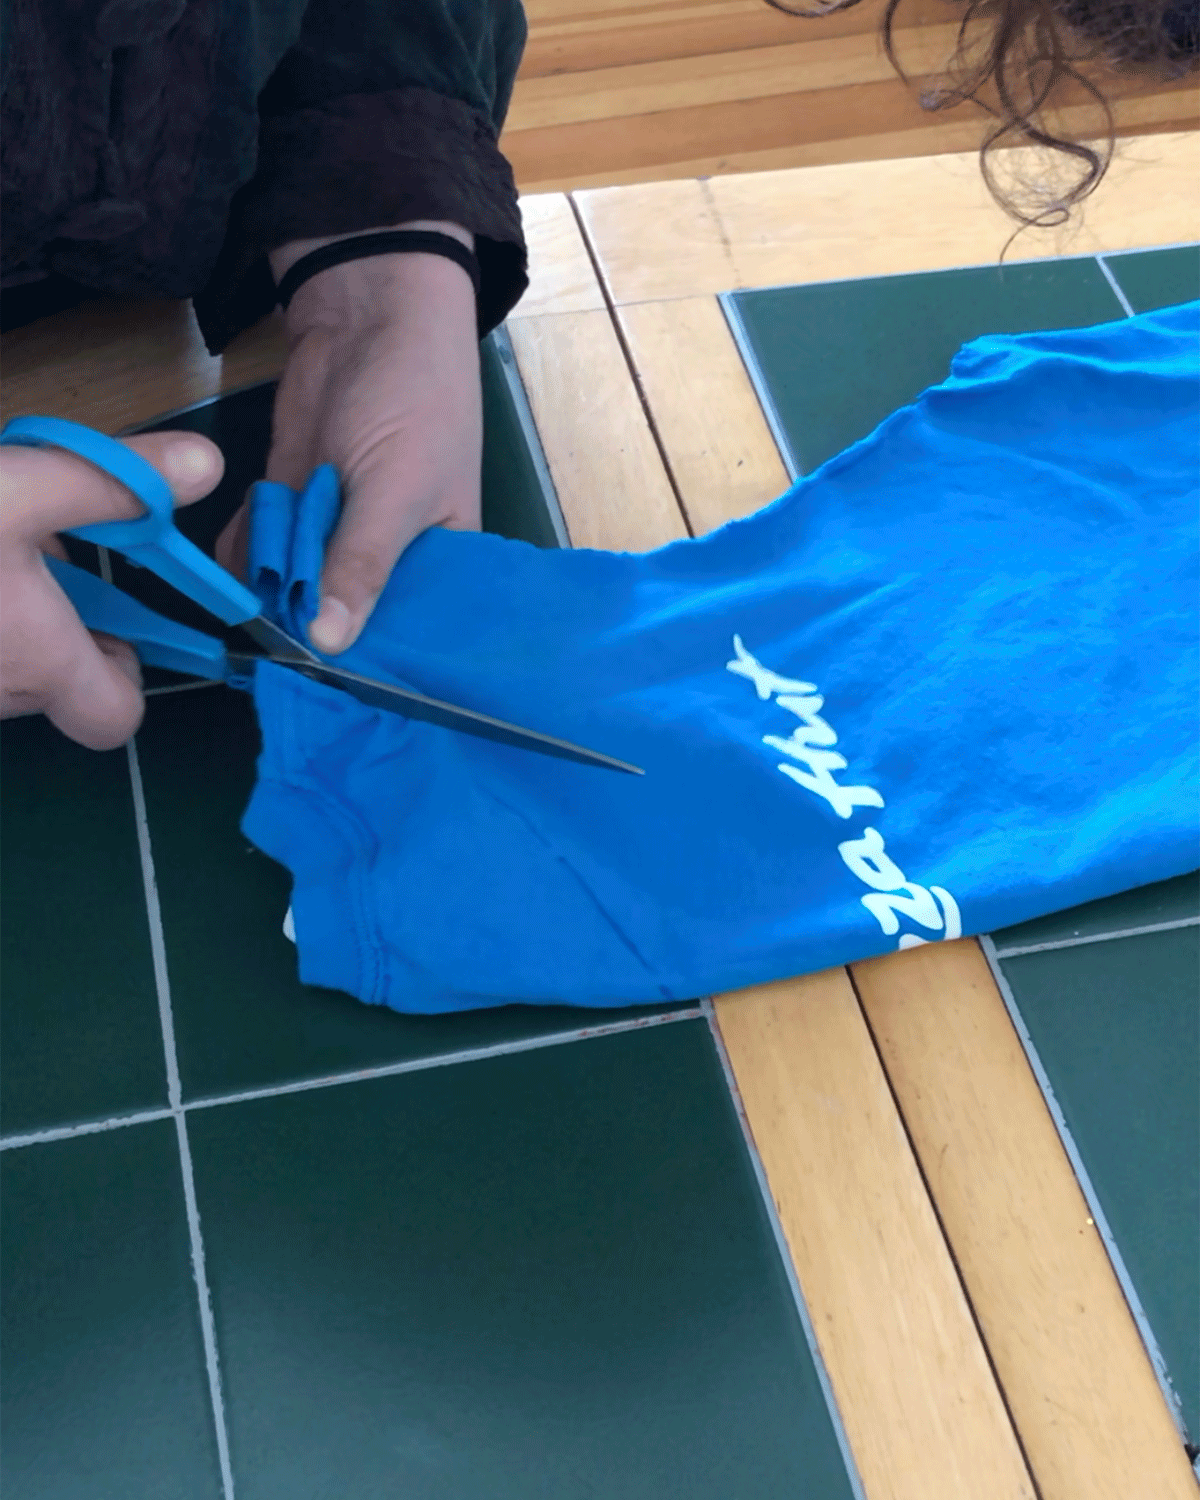
4. This step requires you to fold your shirt in half vertically and to cut out the neck and sleeve areas.
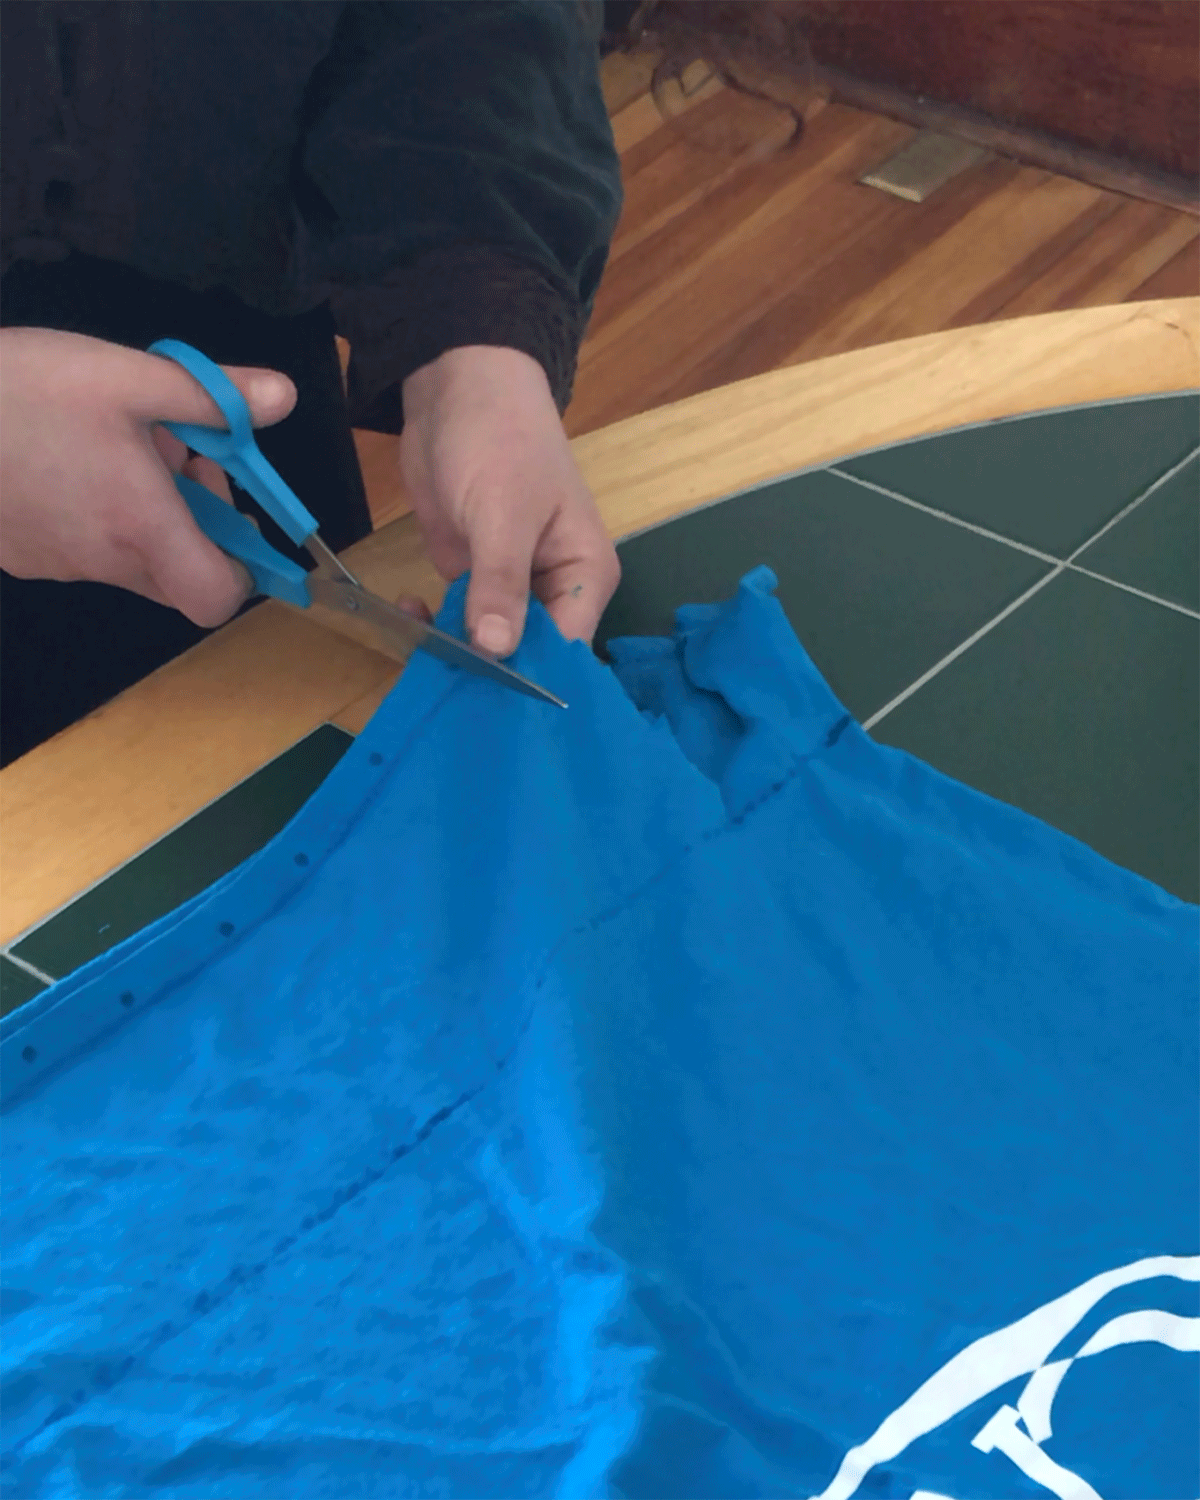
5. Once you’ve removed the neck and sleeve areas unfold your shirt and make cuts from the bottom up to the line you drew earlier. Each incision should line up with your previously marked points.
6. Next tie together each strip of clothing sealing the bottom of the bag. Remove any unwanted or excess material.

7. For extra fun turn your bag inside out and decorate the blank side.
awesome