

Advanced Features
Customizing your blog
Changing the title of your blog
After you log in, on the side bar, click ‘Settings’. You will see a field for blog title as well as a field for the site tagline which is a space for a brief description of your site. After making changes, click the ‘Save Changes’ button to save.

Changing the privacy of your blog
When creating your blog you will be asked if you want search engines to be able to index your site. If you answer no to this question you prevent people from finding your blog using search engines like Google, Yahoo!, etc.
Once your blog has been created, you will have the ability to restrict access to your blog using the following options.

Change this setting by clicking ‘Settings’ > ‘Privacy‘ in the side bar. Then, next to ‘Blog visibility‘, click the appropriate option.
Adding a custom image to the header of my blog
If your theme allows you to change the header image, you can access it by going to the ‘Appearance‘ option, then clicking ‘Header Image and Color‘.
Not all of the themes provided by Blogs@UWW allow you to add a custom header image. Each theme has its own options through which you can customize the look and feel of your blog.
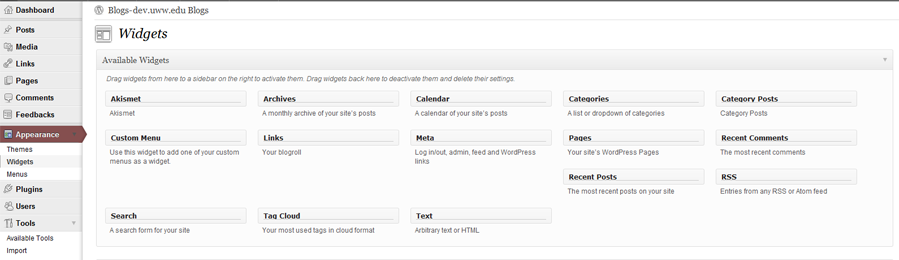
What are widgets?
Widgets are built-in to WordPress and allow you to customize the side columns of your blog. You can use widgets to add a list of recent photos, comments, flickr photos, del.icio.us links, and much more. You can find your widgets by clicking the ‘Appearance‘ option, then clicking > ‘Widgets‘ on the sidebar. You may also get access to more widgets as you activate new plugins. (See the Plugins section in this document for more information on available widgets).
Managing posts
Password protecting a post
Under the “Publish” box, click the “Edit” link next to “Visibility“. Select the “Password Protected” option and enter a password in the box that appears. Make sure that the password you choose is shared with your readers.

Note: If you would like to restrict access to your entire blog, see the “Changing the privacy of your blog” section above.
Adding Flickr images to a post
Before you can add Flickr images to your post, you will need to enable the Flickr Manager plugin for your blog. (How do I enable a plugin?)
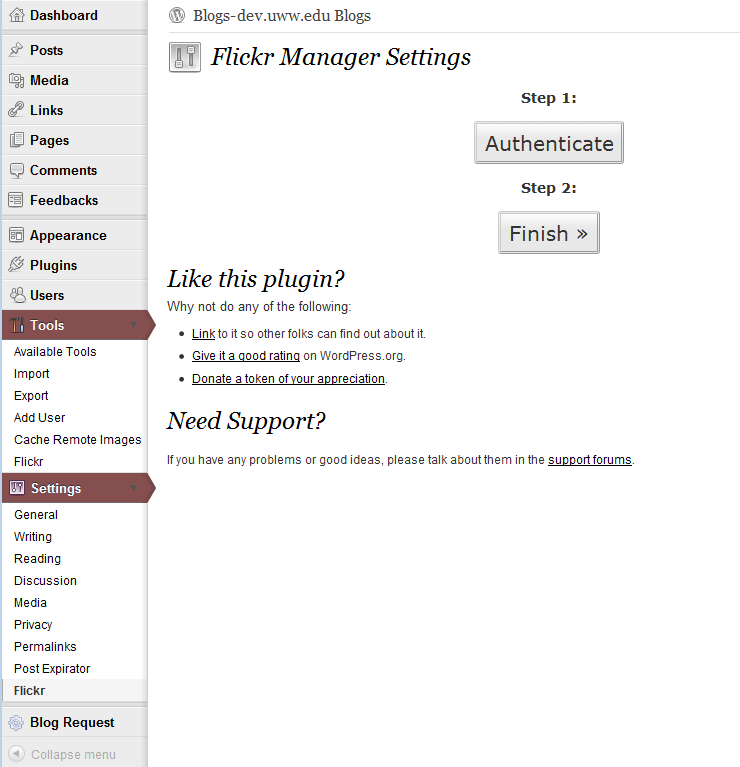
You must configure the Flickr Manager plugin before you can use it to insert images.
- In the side bar, click the ‘Settings’ tab, then click ‘Flickr’.
- Click ‘Authenticate’ on the center of the screen.

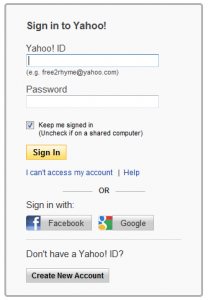
- A new browser window will open. If prompted, login to Flickr using your Yahoo! ID.
- Continue through the verification process until you reach the screen below. Click the ‘OK, I’LL AUTHORIZE IT’ button to authorize Flickr access.

- Minimize/close the Flickr window and, in Blogs@UWW, click ‘Finish’.
- Click the ‘Submit’ button at the bottom of the page to save your preferences.

To insert a Flickr image into a post or a page: find the ‘Flickr’ button below the ‘Title’ field. Click an image. It will automatically be inserted.

Adding YouTube videos
WordPress supports automatically embedding videos from a number of services. All you have to do is place the url to the video in the post. For example:
Check out this cool video:
http://www.youtube.com/watch?v=nTDNLUzjkpg
The above video was embeded by entering the full link: http://youtube.com/watch?v=nTDNLUzjkpg
You can add video content from many other websites, including Vimeo, Flickr, and Hulu, in the same way. A complete list of the compatible websites can be found HERE.
Copying and pasting from Microsoft Word documents
To paste text from Microsoft Word, be sure to click the ‘Paste From Word‘ icon in the post or page toolbar. You may have to enable the “Kitchen Sink”.
A window will appear where you can paste your Microsoft Word text. Click the ‘Insert‘ button to insert the text into your post.
Using pages in your site
It may be desirable to include regular web pages in your blog. Examples of possibly desired pages are: a page describing yourself, a list of your current courses, department contact information, a mission statement, etc. Navigation to all pages will be included on each page.
Making a page in your blog
To create a page in your blog, do the following:
- If you can post to more than one blog, make sure you are in the correct blog by verifying that the title at the upper right of the screen is the title of the desired blog. If it isn’t, you can click “My Blogs” under
the dashboard to pull up a list of blogs you own.
- Click the name of the blog you wish to edit.
- Click the Pages option on the sidebar.
- Below the ‘Pages‘ option on the sidebar, click ‘Add New‘.
- Add a title. In the empty field at the top (just below “Add New Page”), enter a subject, title or name for your page. This name will go into the <title> tag of your page.
- Click the Publish button. Your post will appear on your blog. If you’d like to save and continue to edit your content, click the Save Draft button. When you are ready, click the Publish button and your message will be posted.
Once the page has been posted, it will appear on your blog site under Pages.
Managing and deleting pages
To edit a page that has already been created, login to Blogs@UWW, then click the ‘Pages‘ option. Click the Page Title of the page you wish to edit. Hover over the Page Title, then click the ‘Trash‘ link to remove the page permanently.
Re-ordering pages
Since pages are not chronologically oriented, by default, pages will appear in alphabetical order on your site by name. To change this display order of pages, do the following:
- Click the ‘Pages’ option on the side bar.
- Click the ‘Edit‘ link next to the page you wish to move.
- On the bottom right of the Edit page, notice the ‘Page Order‘ widget.
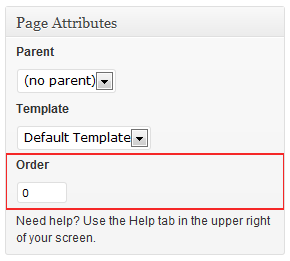
- Enter a positive whole number. Lower numbers will appear earlier in the list. It is suggested to use multiples of 10 for numbering. (Your first page should use 10, your second page should use 20, etc.) By doing this, if you need to insert a page, you will not need to change the numbers of all of your pages.
- Click the ‘Save‘ button to apply the changes.
Extending your blog
Uploading files to your blog
Blogs@UWW allows you to upload files to your blog. Currently, we support uploading of the following formats:
jpg, jpeg, png, gif, mp3, mov, avi, wmv, midi, mid, pdf, doc, docx, xls, xlsx, zip, ppt, pptx, rtf, swf, flv.
If there is a format you would like us to allow, please contact the Learning Technology Center.
Using external services to store images and documents
You have 60 MB of upload space. This may not be enough space if you are uploading large pdf files or images; in this case, it may be preferable to use an outside service that you can integrate with Blogs@UWW, such as Flickr for your photos, or DivShare for your files. Note that it is always possible to link to files saved on UW-W services, such as your facstaff or department web space, or student storage.
Importing existing blogs into Blogs@UWW
Before importing a blog, please contact the iCIT WebTeam for assistance and guidance. You can import a blog from numerous other blogging platforms such as WordPress, MovableType, Blogger, LiveJournal, TypePad, Grey Matter, TextPattern, DotClear, and RSS.
To import your blog from an application other than WordPress, please read the details for exporting data from your respective blogging platform.
Once you have exported your data from your blog, in the tab bar go to ‘Tools‘ > ‘Import‘. From here, click on the respective blog type you are importing. Browse for the saved file on your computer, and click the ‘Upload file and import‘ button.
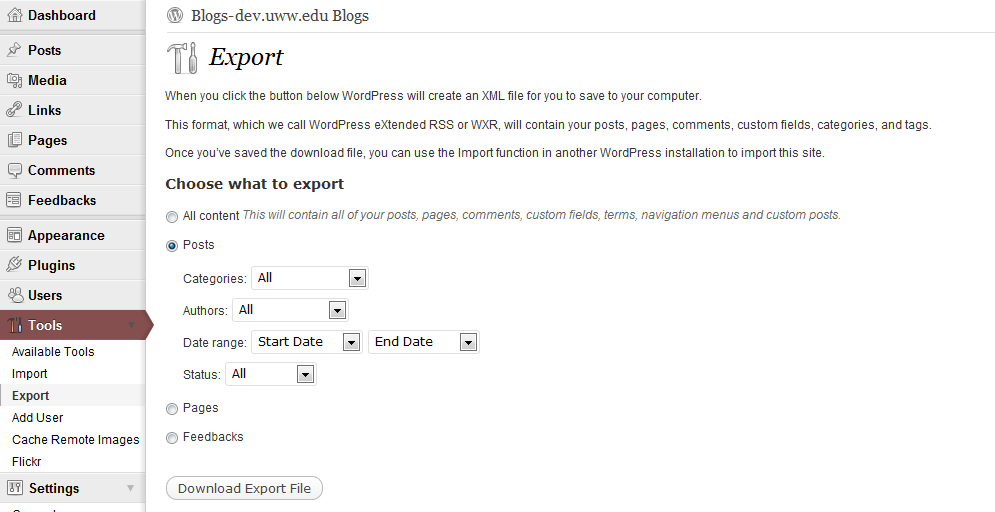
Exporting Data From Blogs@UWW
To export your data from Blogs@UWW, you will need to create an export for your blog (or an individual export for each blog you have on this service). In the tab bar, click ‘Tools‘ > ‘Export‘. When you export your blog, you will be given an XML file that stores all of the posts and comments for your blog. Keep in mind that links and pages will not be exported.
Important: If your blog has a series or documents that you uploaded directly to Blogs@UWW, you will need to contact the iCIT Web Teamin order to get copies of all those files. Once you have these files and upload them to your new space, be sure to change the URLs to reflect the location of your blog. Additionally, you will need to update the URLs to images and documents in your new blog in order for them to work.
An overview of WordPress Menu
Dashboard
The Dashboard is the first page you see once you login to Blogs@UWW.
From here you can click on several different tabs that will bring you to various pages wherein you can post new articles, edit your own posts or comments, update your user profile, and view your blog, etc. This also shows you an overview of the latest posts in your blog, your size quota, if new comments have been posted, etc.

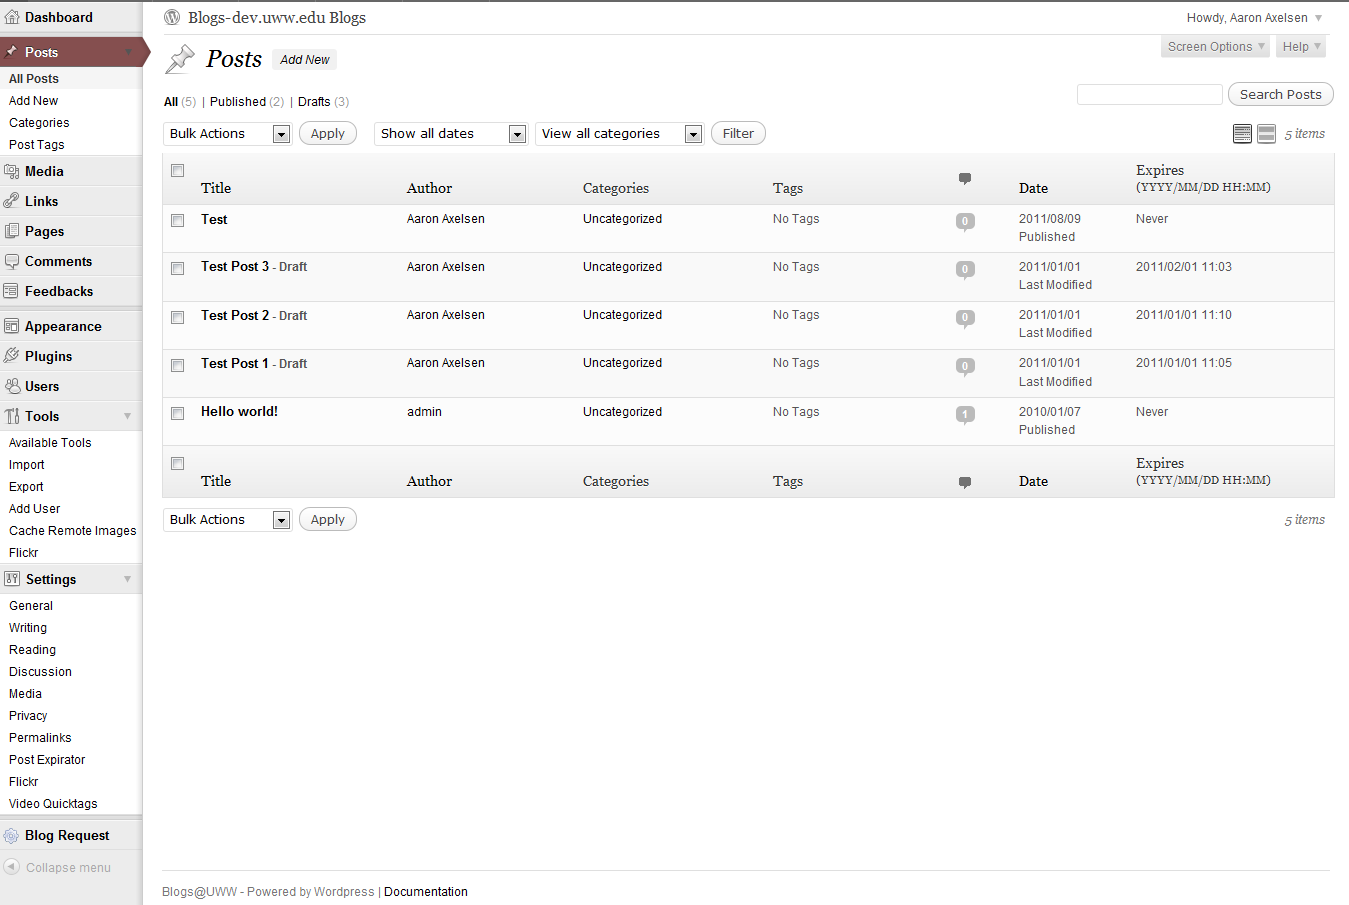
Posts
This is where you manage your posts and the categories and tags associated with them. You can use this section to add and delete posts as well.
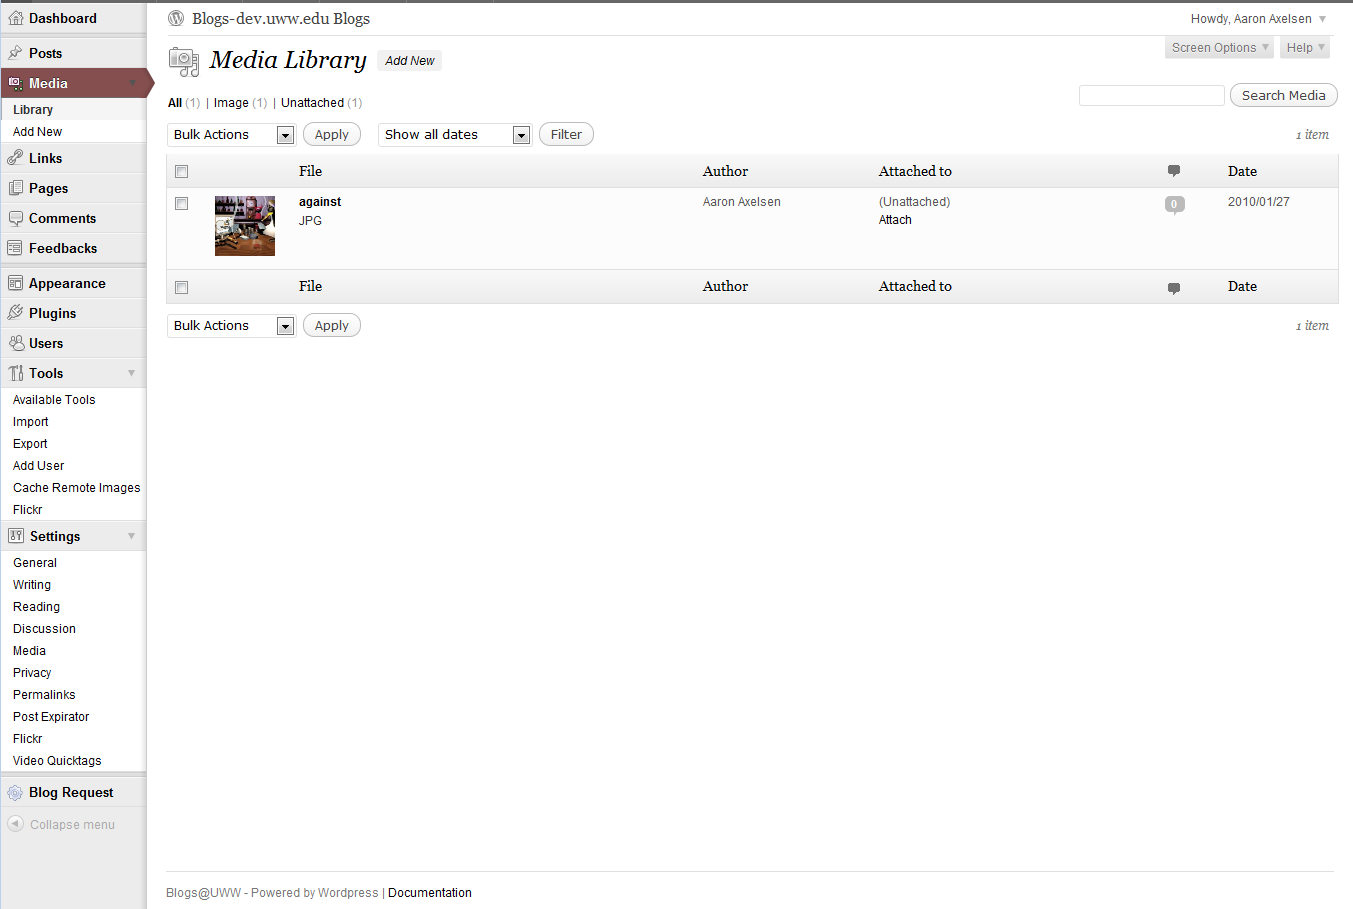
Media
This section is where media management controls are located. You can upload images, videos, and audio, or access your blog’s media collection.
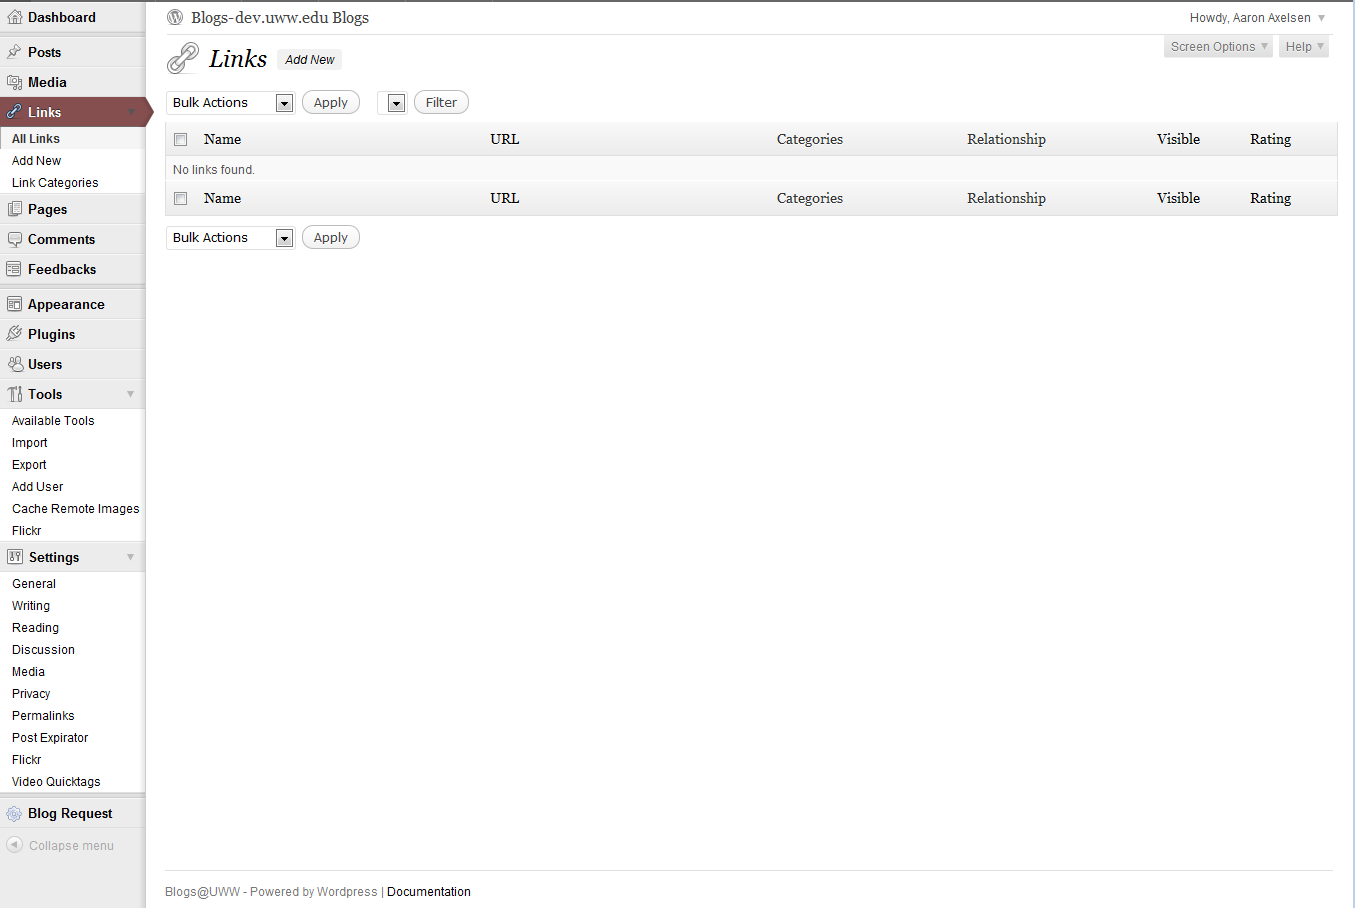
Links
This is where you manage or add links and link categories.
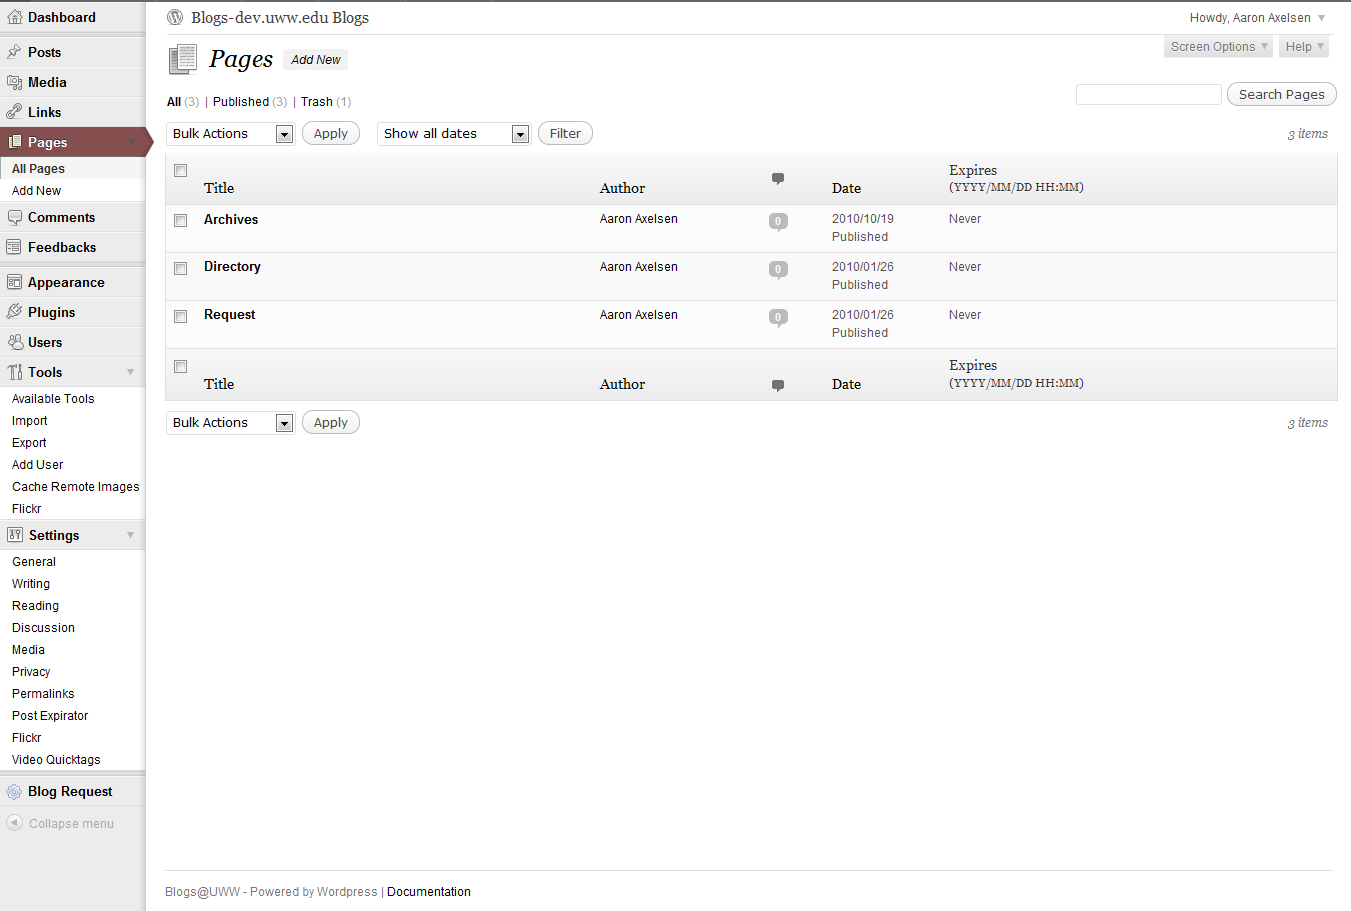
Pages
Here you can add, modify, or delete pages for your blog.
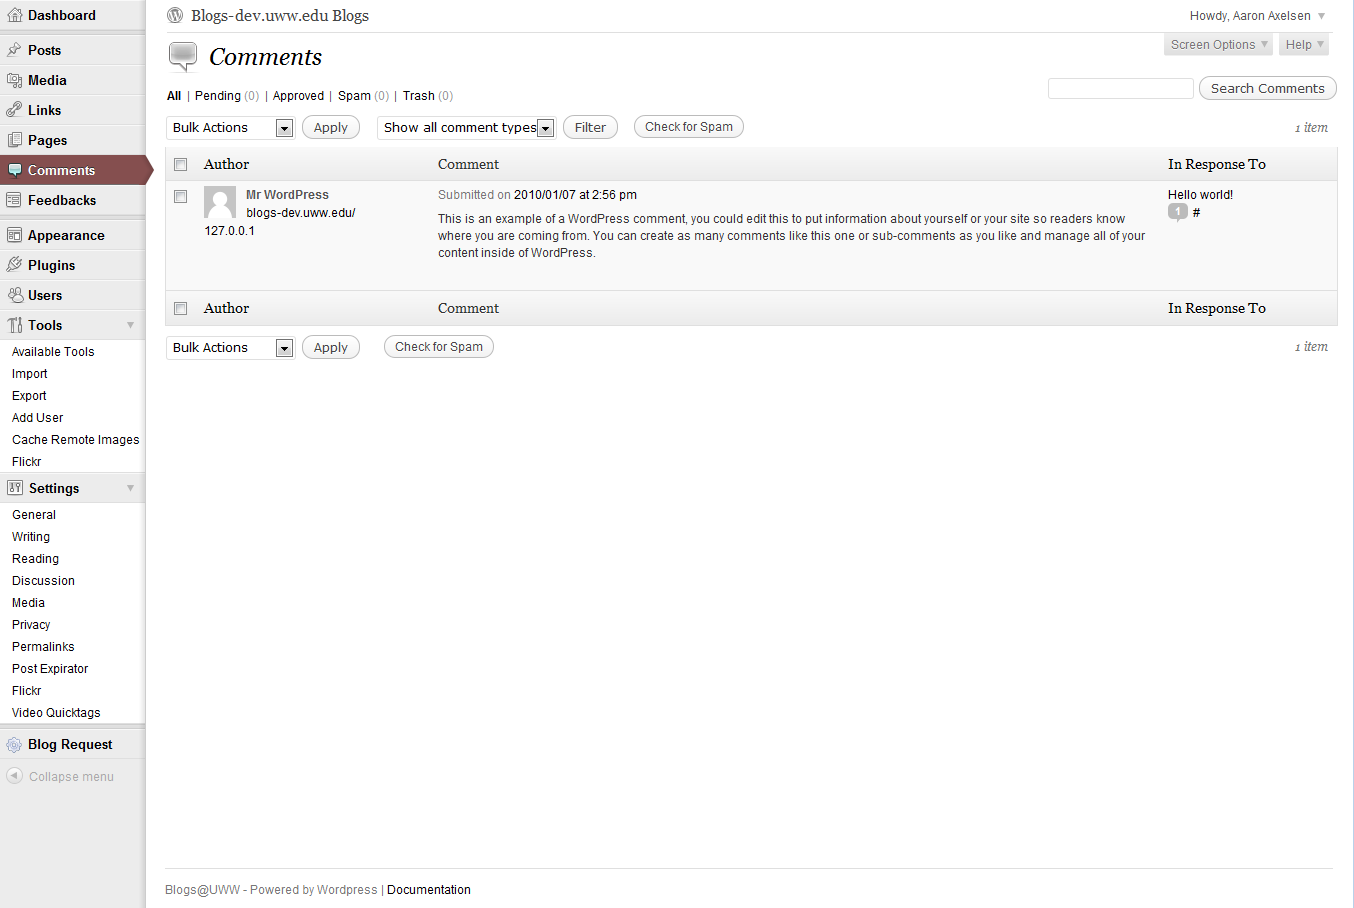
Comments
Approve and unapprove the comments users post on your articles here. You can also manage past comments.
Appearance
This tab lets you control the overall look and feel of your blog. If you go to the Appearance page, you will see a number of images that highlight different themes you can use for you blog. Double click on any of the over 170 themes available and view your site. Depending on the theme, you can also further customize the look and feel of your blog/website. This is where you will also customize your Widgets and Header Image and color.

Plugins
Plugins extend and expand the functionality of WordPress. There will be a limited number of plugins made available to all Blog@UWW users. Depending on the added functionality you need you may activate or deactivate the appropriate plugin in this tab.
(List of plugins)
Users
You can use the this tab to add other users to your blog and control the level of permissions they should have. You can also edit your personal profile, such as changing your nickname, adding your IM address, and various other personalized options.
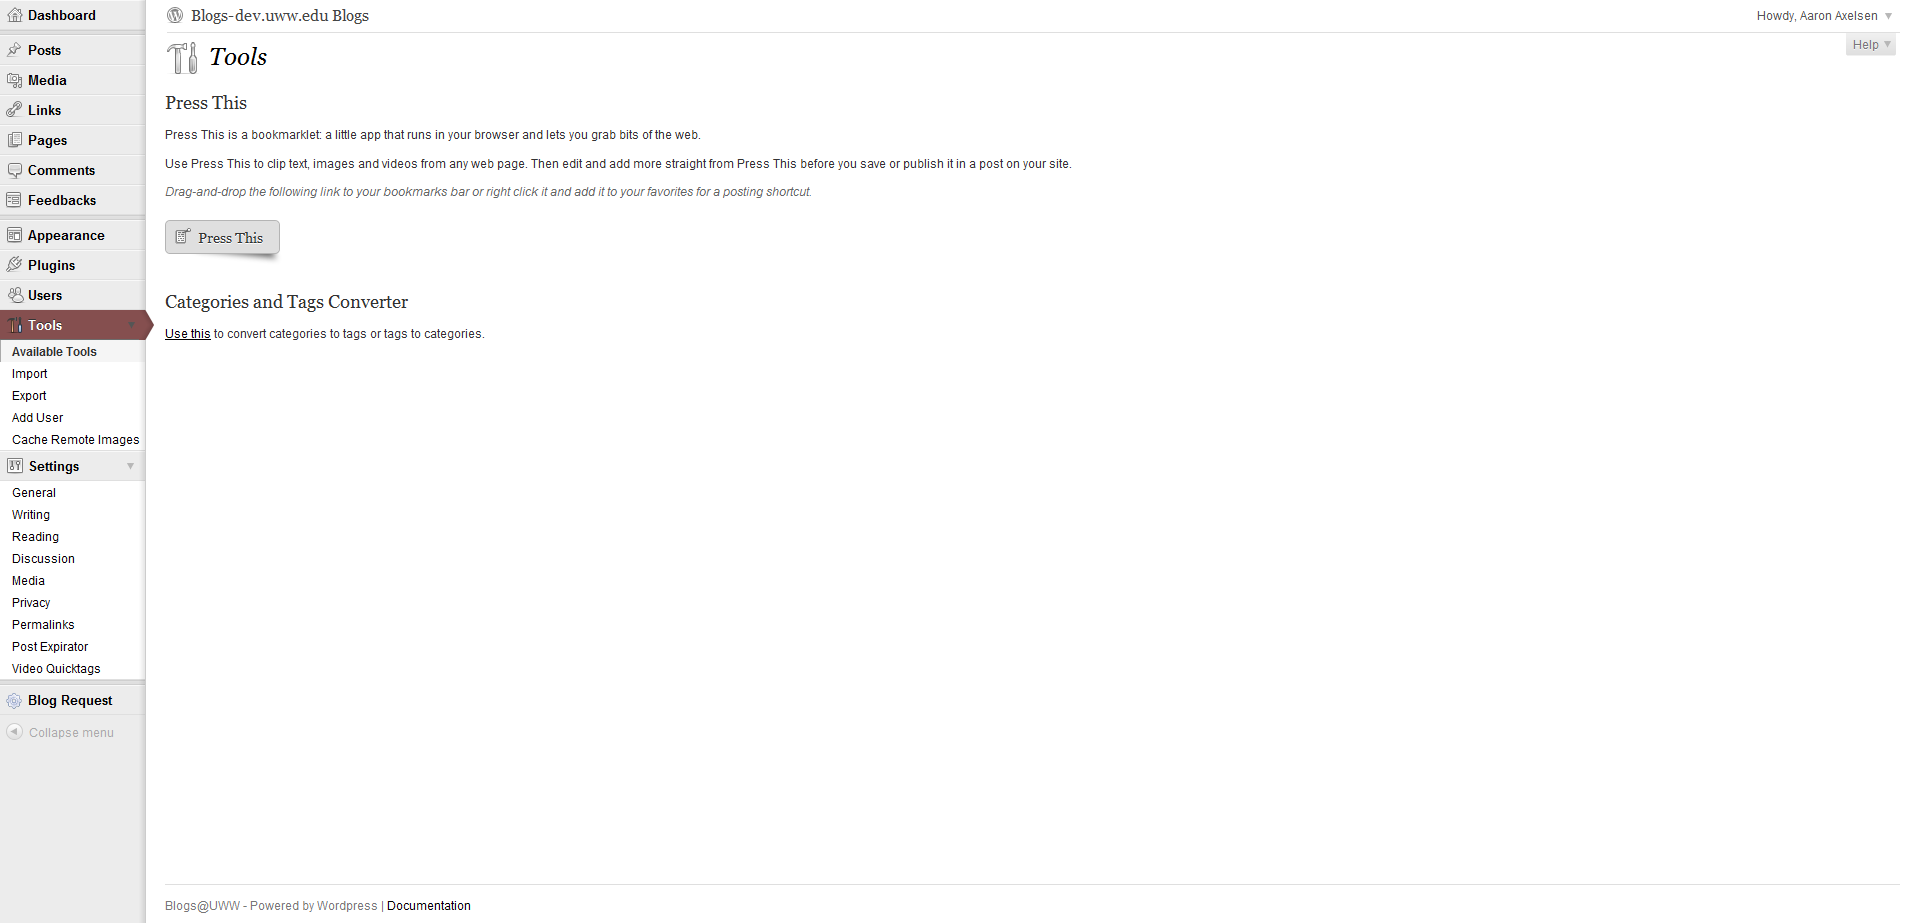
Tools
Download and install tools to improve your blogging experience. Also, this is where you would export your content for use with other blogging software or import posts and settings from other blogs you use.
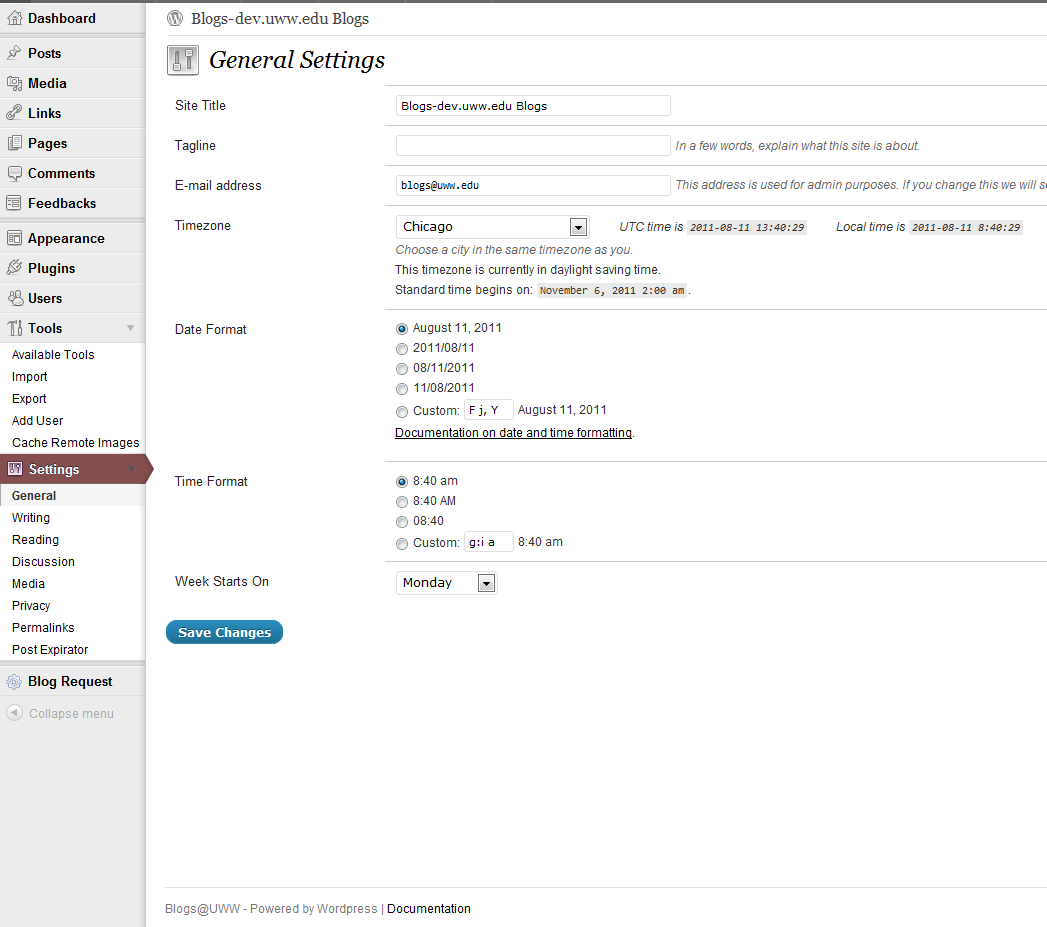
Settings
The Settings tab allows you to change many of the overall settings for your blog. For example, you can use the tabs within the Settings page to change the blog title, change the time zone, or add a brief description. The various tabs allow you to control comments, reading and writing options for your blog. This is also where you can control the privacy settings for your blog, or even delete your blog entirely. Additionally, if you are adding plugin functionality, you will also control it’s settings from within this tab.
Plugins
Plugins add additional functionality to your blog. Below is a list of plugins we currently have made available on Blogs@UWW.
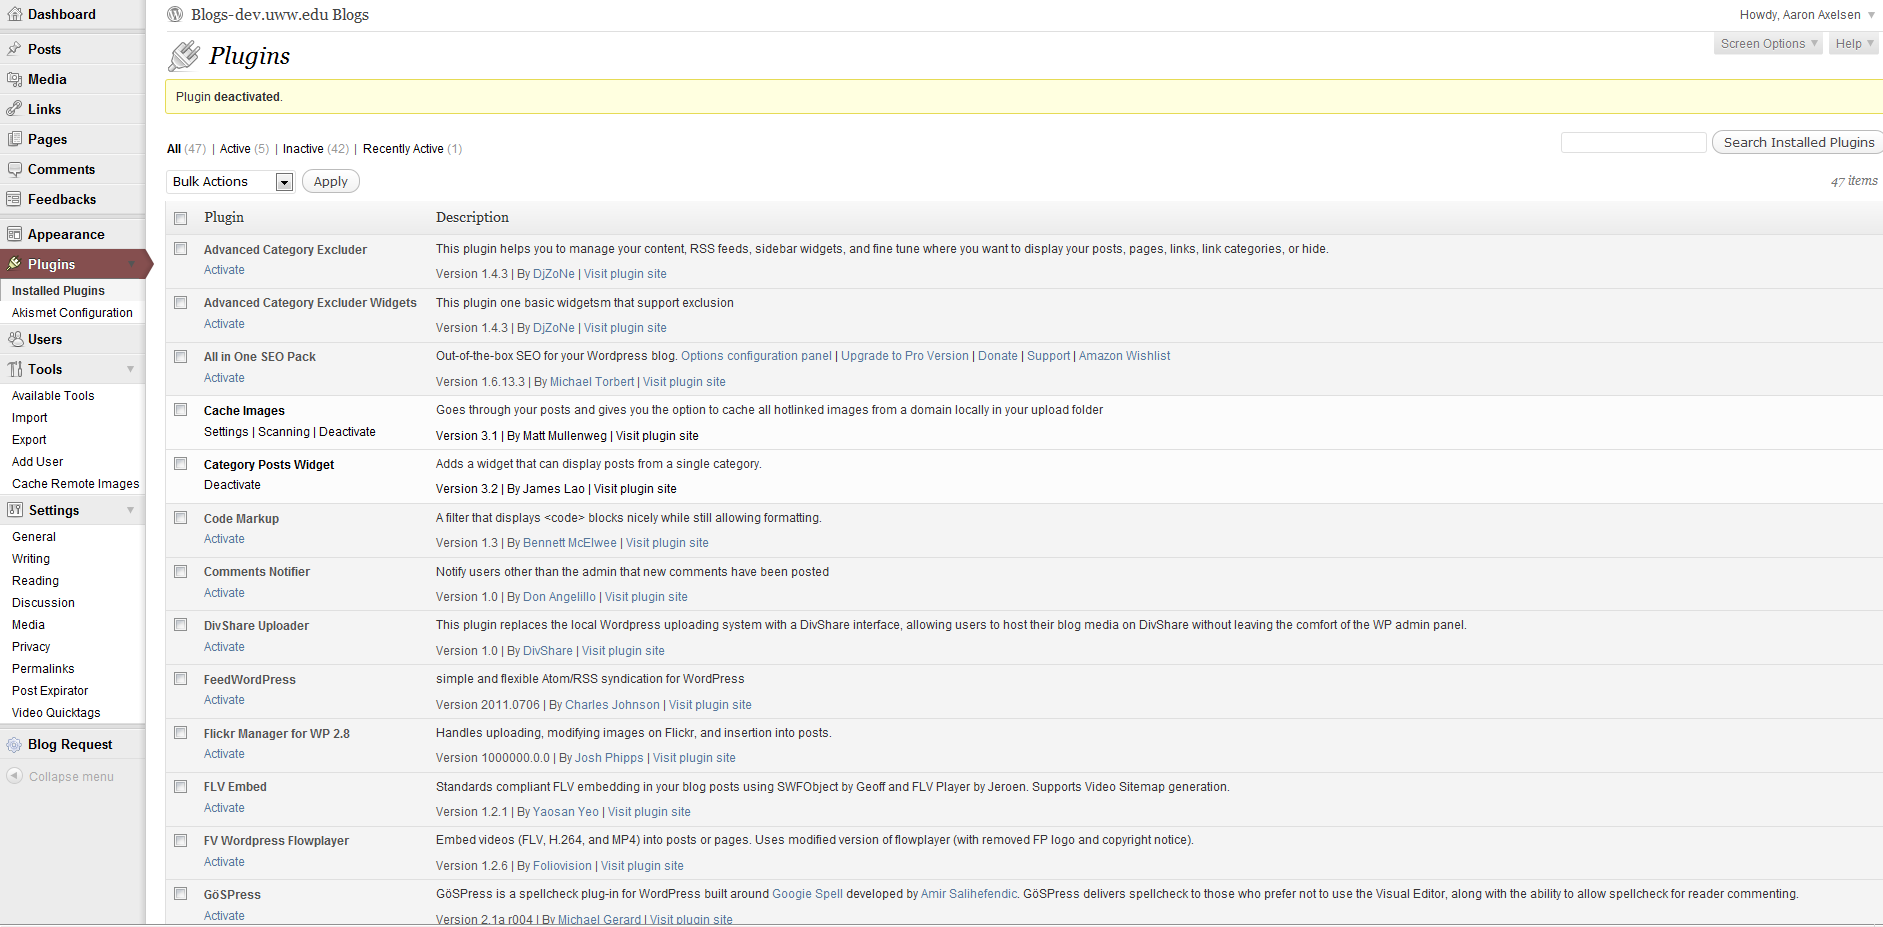
Activating Plugins
To activate a plugin, click the activate link to the right of the plugin description, once a plugin is activated it will be highlighted. Keep in mind that certain plugins may also require you to activate a widget so that you can incorporate it into your sidebar. Additionally, certain plugins may require you to setup certain features (setting up any particular plugin might require you to look for these settings once you activate it in the Options or Manage tabs).
List of Plugins
Note: Some plugins require accounts on third-party services not maintained by UW-Whitewater or the University of Wisconsin System. Support for the plugin does not represent endorsement of the third-party service by iCIT or UW-Whitewater and are provided as a convenience.
| Advanced Category Excluder | Helps the user manage categories, link categories, RSS feed manipulation, and an Events Calendar. | |
| Advanced Category Excluder Widgets | Helps the user manage categories, link categories, RSS feed manipulation, and an Events Calendar. Widgets parts of the Plugin | |
| All in One SEO Pack | We are running the free version of this great Search Engine Optimization Plugin. This plugin optimized your blog for search engines, as well as adding some great features to WordPress that will help you mazimize your SEO. | |
| Article Templates | Article Templates wordpress plugin lets you create templates that can be used when writing a new post or page. This will be very useful if you are writing many post with the same structure. | |
| Cache Images | If you hotlink images from outside of you blog, you can run this plugin and it will copy all your images to your media folder. | |
| Category Posts Widget | Adds a widget that can display posts from a single category | |
| Code Markup | A filter that displays <code> blocks nicely while still allowing formatting. | |
| Comments Notifier | Notify users other than the admin that new comments have been posted | |
| DivShare Uploader | This plugin replaces the local WordPress uploading system with a DivShare interface, allowing users to host their blog media on DivShare without leaving the comfort of the WP admin panel. | |
| FeedWordPress | Simple and flexible Atom/RSS syndication for WordPress | |
| Flickr Manager | Upload your flickr images quickly and easily with this plugin | |
| FLV Embed | Embed FLV videos into your blog. | |
| GD Star Rating Plugin | GD Star Rating plugin allows you to set up rating and review system for posts, pages and comments in your blog. You can set many options for displaying the rating stars, and add widgets into the sidebars for displaying top ratings and other statistics generated by the plugin. | |
| GeneralStats | Counts the number of users, categories, posts, comments, pages, links, tags, link-categories, words in posts, words in comments and words in pages. | |
| Google Analytics for WordPress | The Google Analytics for WordPress plugin allows you to track your blog easily and with lots of metadata. | |
| GöSPress | GöSPress is a spellcheck plug-in for WordPress built around Googie Spell developed by Amir Salihefendic. GöSPress delivers spellcheck to those who prefer not to use the Visual Editor, along with the ability to allow spellcheck for reader commenting. | |
| Grunion Contact Form | A customizable contact form for you blog. Users enter info in the form, and it e-mails you the results. Place [contact-form] in post or page for the form to appear. To specify where the data should be sent change the shortcode to [contact-form to="user@domain.com, user2@domain.com"]. You can specify the subject of the message by changing the shortcode to include [contact-form subject="My Contact Form"], and you can even allow the user to specify the subject by adding show_subject="yes" to your shortcode. |
|
| Hello Dolly | This is not just a plugin, it symbolizes the hope and enthusiasm of an entire generation summed up in two words sung most famously by Louis Armstrong: Hello, Dolly. When activated you will randomly see a lyric from Hello, Dolly in the upper right of your admin screen on every page. | |
| IM Online | IM Online shows your current online status on your blog. Currently supports AOL, MSN, Yahoo!, Jabber, Skype and ICQ. Widget & Plugin support. | |
| jPic WordPress Widget | Given a url of an image, shows it in a widget | |
| JQuery Featured Content Gallery | JFCG is essentially a rotating banner. Using the plugins settings you can add and remove pictures to the gallery, you can also set its max width and height. | |
| MediaWiki Markup for WordPress | Add a subset of MediaWiki markups to WordPress | |
| pageMash > Page Management | This is a simple WordPress page management plugin. The Ajax interface allows you to drag-and-drop the pages into the order you like, modify the page structure by dragging a page to become a child or parent and toggle the page to be hidden from output. | |
| Post Expirator | Allows you to add an expiration date to posts which you can configure to either delete the post or change it to a draft. | |
| Resize At Upload | Automatically resizes uploaded pics to a max width and/or height you can set based upon your theme requirements. | |
| Search Everything | Adds search functionality without modifying any template pages: Activate, Configure and Search. Options Include: search highlight, search pages, excerpts, attachments, drafts, comments, tags and custom fields (metadata). Also offers the ability to exclude specific pages and posts. Does not search password-protected content. | |
| SexyBookmarks | SexyBookmarks adds a (X)HTML compliant list of social bookmarking icons to each of your posts. See configuration panel for more settings. | |
| ShareThis | Adds links to share posts via Email, StumbleUpon, Digg, Facebook, Twitter. It’s a really small, simple, efficient plugin which doesn’t use javascript or flash. | |
| Table of Contents Generator | Scans through HTML headings and creates a “Table of Contents” list for your posts/pages. <!–TOC–> | |
| Thumbnails Manager | Thumbnails Manager allows a more fine management of thumbnails in wordpress. | |
| TweetMeme | Adds a Tweet me button to your posts | |
| Twitter Tools | A complete integration between your WordPress blog and Twitter. Bring your tweets into your blog and pass your blog posts to Twitter. Show your tweets in your sidebar, and post tweets from your WordPress admin. | |
| Twitter Tools – Bit.ly URLs | Use Bit.ly for URL shortening with Twitter Tools. This plugin relies on Twitter Tools, configure it on the Twitter Tools settings page. | |
| Twitter Tools – Exclude Category | Exclude posts in certain categories from being tweeted by Twitter Tools. This plugin relies on Twitter Tools, configure it on the Twitter Tools settings page. | |
| Twitter Tools – Hashtags | Set #hashtags for blog post tweets sent by Twitter Tools. This plugin relies on Twitter Tools, configure it on the Twitter Tools settings page. | |
| Twitter widget | Sidebar widget to display your Twitter timeline. The widget allows you to choose to display your twitter username in front of your updates. You can also choose whether to display the time before or after the twitter post. | |
| Viper’s Video Quicktags | Easily embed videos from various video websites such as YouTube, DailyMotion, and Vimeo into your posts. | |
| Widgetbox widget | Used to insert any widget from widgetbox.com | |
| Widgetize Any HTML | Provides a widget interface for any HTML code, so you can insert any HTML code including Javascript code snips into the WordPress siderbar. | |
| WP Vivtiger Image Resizer | Allows users to crop and resize an image easily using the WordPress attachment system. | |
| WP-Polls | Adds an AJAX poll system to your WordPress blog. You can easily include a poll into your WordPress’s blog post/page. WP-Polls is extremely customizable via templates and css styles and there are tons of options for you to choose to ensure that WP-Polls runs the way you wanted. It now supports multiple selection of answers. | |
| WP-Sticky | Adds a customized post sticky feature to your blog posts | |
| WPtouch | A plugin which formats your site with a mobile theme for visitors on Apple iPhone / iPod touch, Google Android, Blackberry Storm and Torch, Palm Pre and other touch-based smartphones. |
I’m seeing an error message. What do I do?
If you are coming across an error message please contact the iCIT Web Team to send us the exact verbiage of that message, where it happened, and your blog address so that we can research and fix the problem promptly.
Mobile Blogging With WordPress!
The WordPress App is available for Apple iOS devices (iPod,iPhone,iPad), Android Devices, and Blackberry handhelds. You are able to modify comments, add and edit posts, and add and edit pages using the WordPress App on your mobile device.
To start Mobile Blogging follow these steps:
- Login to your blog at https://blogs.uww.edu. Remember to login using your Net-ID and Password. Verify that you are using the correct Blog’s Dashboard by verifying its name in the top bar of the site.
- On the left sidebar there is a Settings Tab. Choose Writing underneath it.
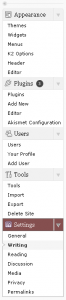
- Make sure the checkbox labeled ‘XML-RPC – Enable the WordPress, Movable Type, MetaWeblog and Blogger XML-RPC publishing protocols’ is checked.

- Download the WordPress App from your devices App Store. The WordPress App is free and you do not have to pay to download that app. Other data transfer rates may apply from your carrier.
- Once installed, load the app.
- The Add Blog page should load first. If not, choose the plus sign in the top right corner.
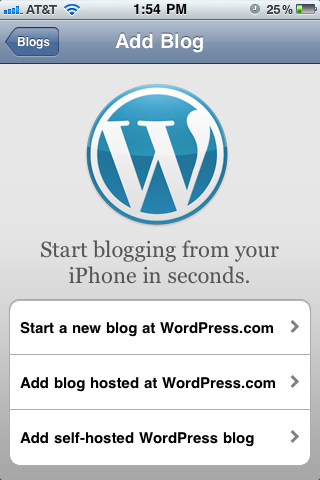
- Click the Add self-hosted WordPress blog option.
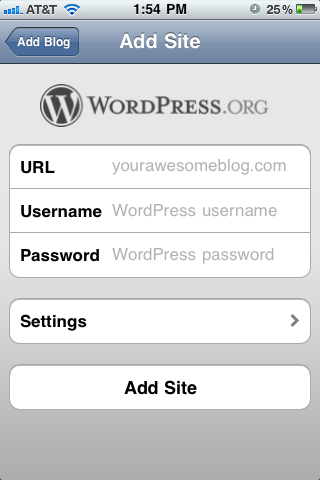
- Enter the URL for your blog. This is will be similar to: blogs.uww.edu/yourblog. Replace yourblog with your requested blog name.

- Under username type in your Net-ID.
- Under password enter your campus Password.
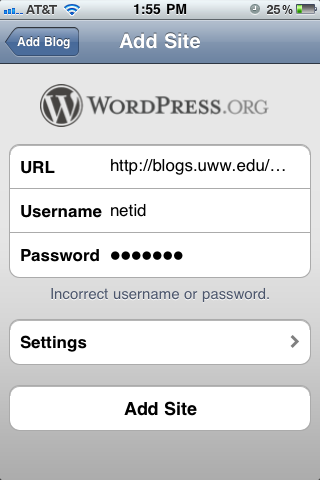
- Click Add Site.
- Your blog will be added to your list of blogs.

Once you have setup your blog on your phone click its name, and you can view, edit, and add comments, posts, and pages.
How do I get more help for issues not listed here?
If you have further questions, concerns or comments, contact iCIT Web Team.