Adding Lead Came to your Project
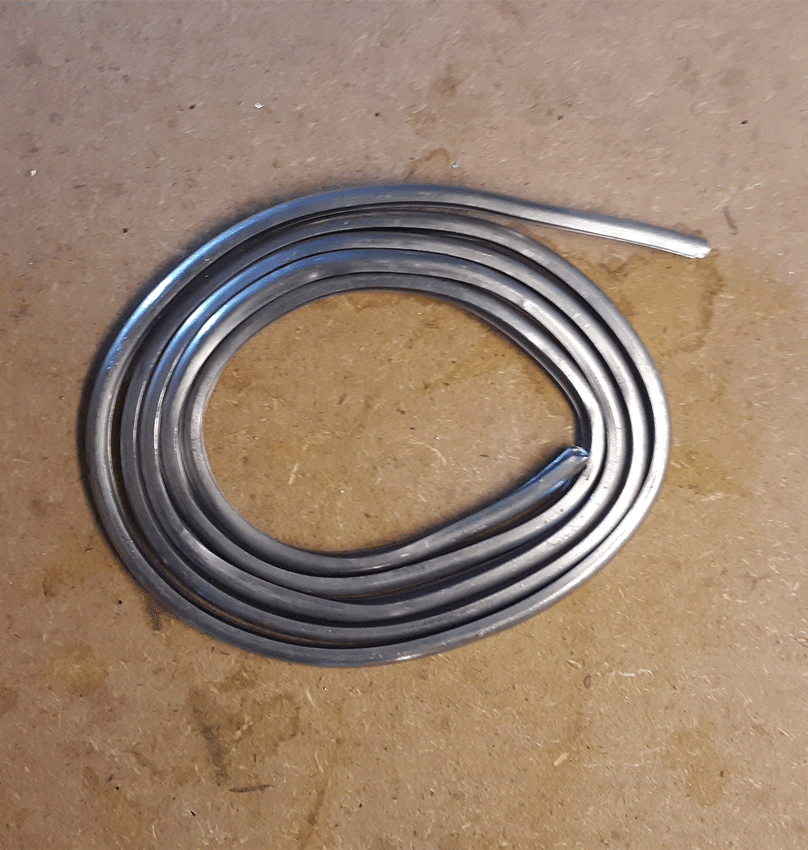
By using lead came on your project your reinforcing the outside edges of your piece. This week’s post will be shorter than usual, but in it I’ll be showing you how to stretch out your came and how to attach it to your project.
Stretching your Came
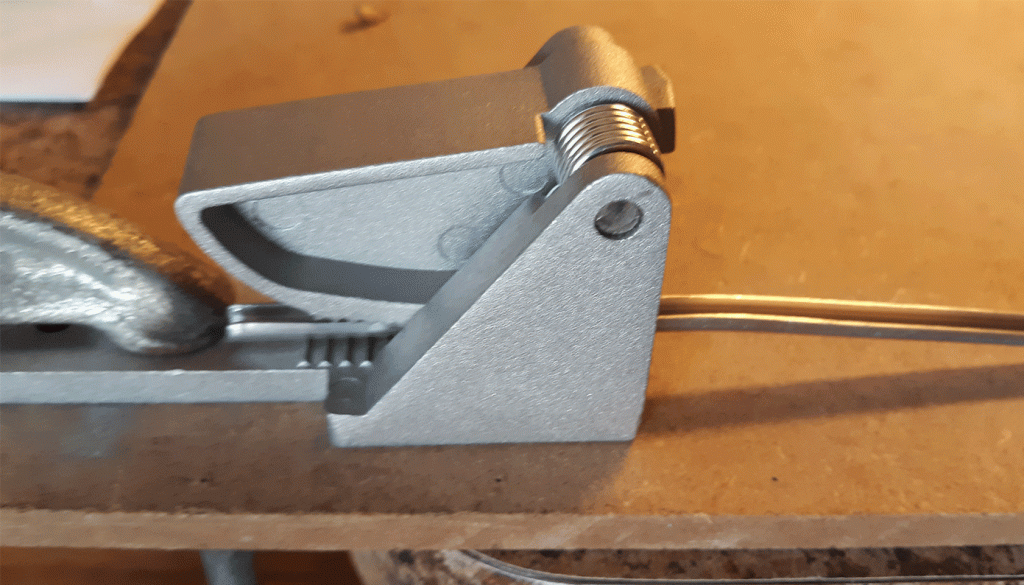
In its original form, lead came is very supple and wiggly. To help stretch it out before use, I’ll be using a lead vice to hold one end of the came in place.
Grab the opposite end with a pair of pliers and tug on the came in a series of quick jerks. doing this will remove the waviness from the came and help to make it firmer.

Attaching the Came
The first thing you’ll want to do is measure the edge (preferably the bottom) of your project and mark a spot about 1/2 inch beyond the right edge.

Next, line the came up with the ruler and mark your measurement with a marker.

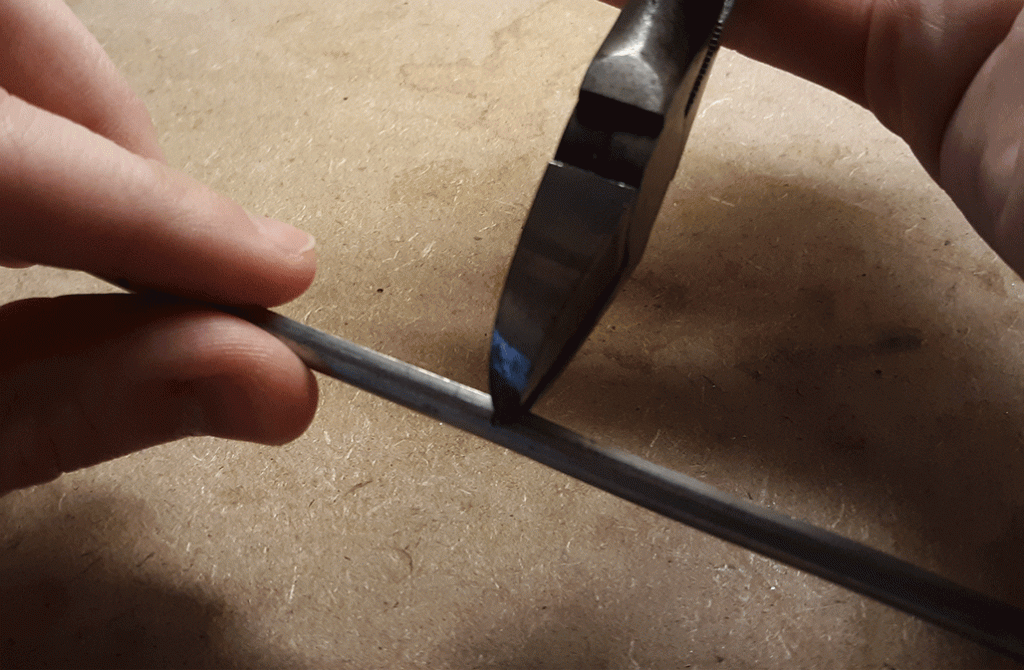
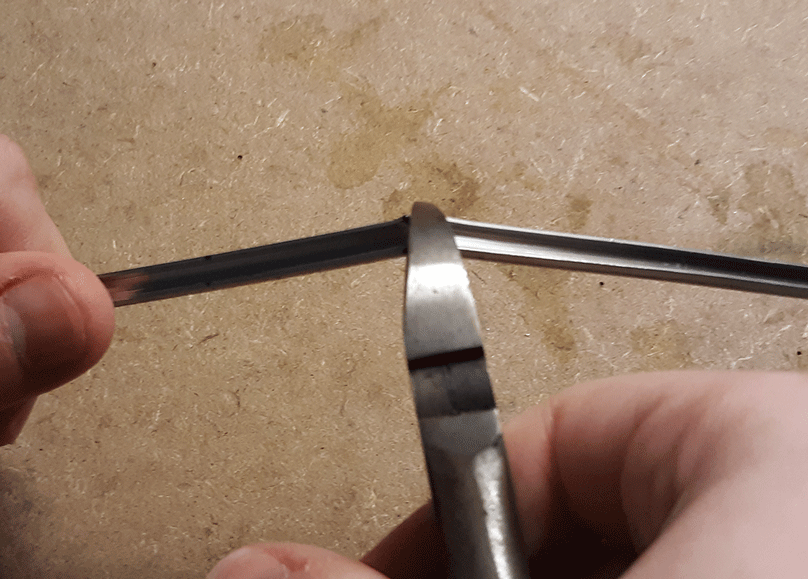
Now cut the came at the line you marked. I found that you’ll get a cleaner cut if you first snip the sides of the came first before cutting through the top.
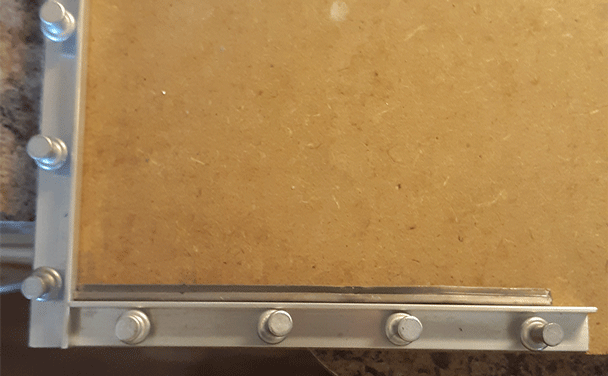
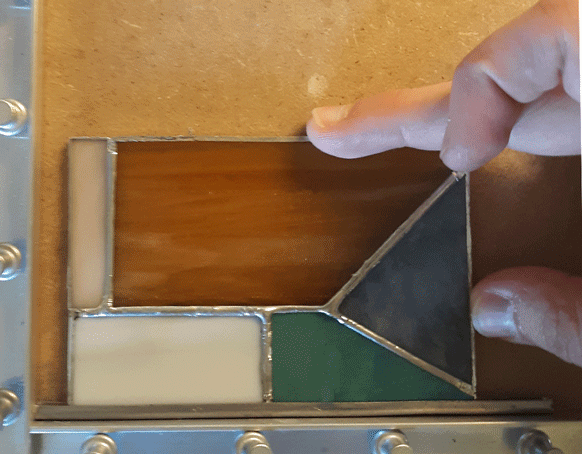
Once your came is cut, set up your thumbtacks and jigs again and place the came on the bottom jig. Then take your project and slide the edge of it into the inner channel of the came.
After that’s done, repeat the process on the left side of your project. Once the lead came is in place, shift your project to the left so that it fits into the came snugly.

Repeat the steps done in the left side for the right. Once its in place, add a jig to the right site to hold the came in place. In order to fit came to the top of your project, you’ll have to measure it so that it fits between the left and right sections of came. If your having trouble getting it to fit, I recommend taking a high grit piece of sandpaper and filing down the edges of your came so that it fits.

Once your final piece in in place, hammer some thumbtacks to keep it in place.

Like I said, this weeks post was shorter than usual, but next week we’ll be covering how to solder your came together and how to add hoops to your project for hanging.
Filed under Uncategorized | Comment (0)