Solid Soldering and How to Achieve it
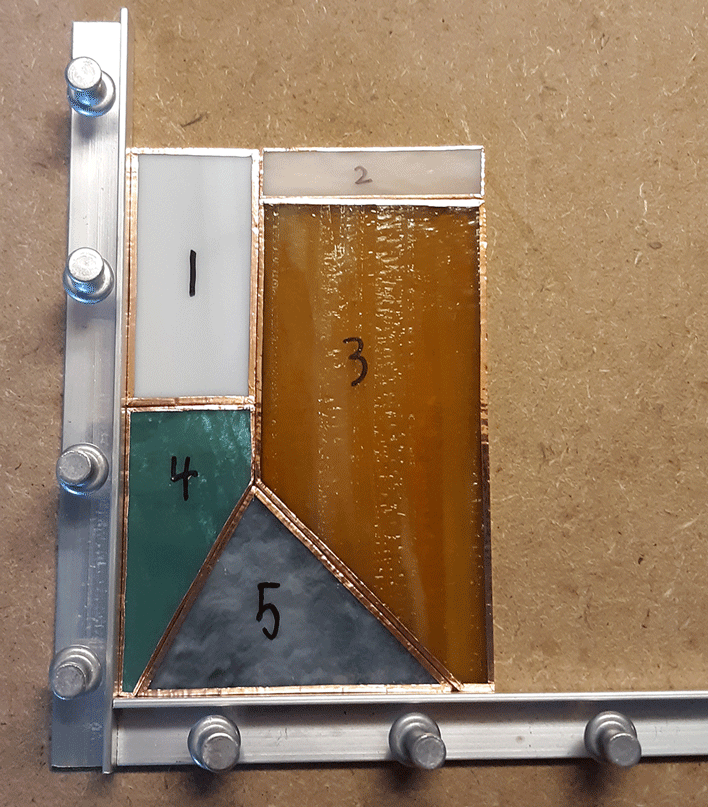
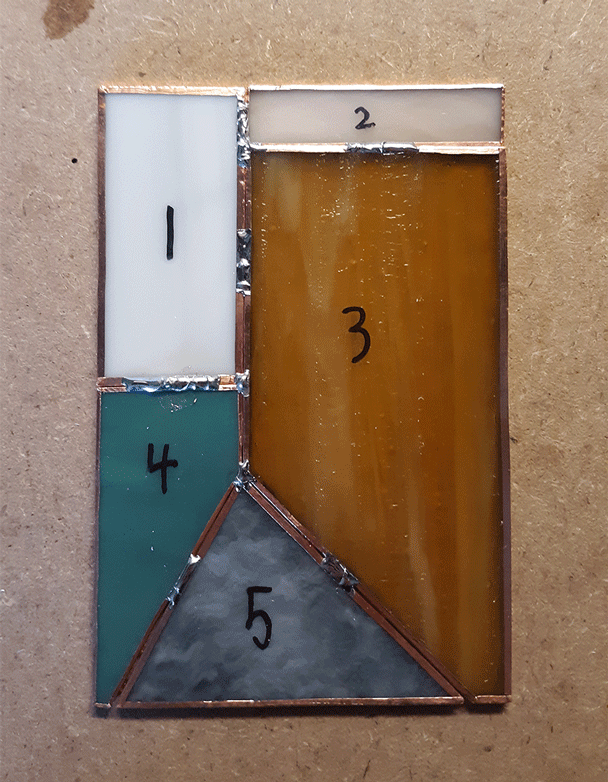
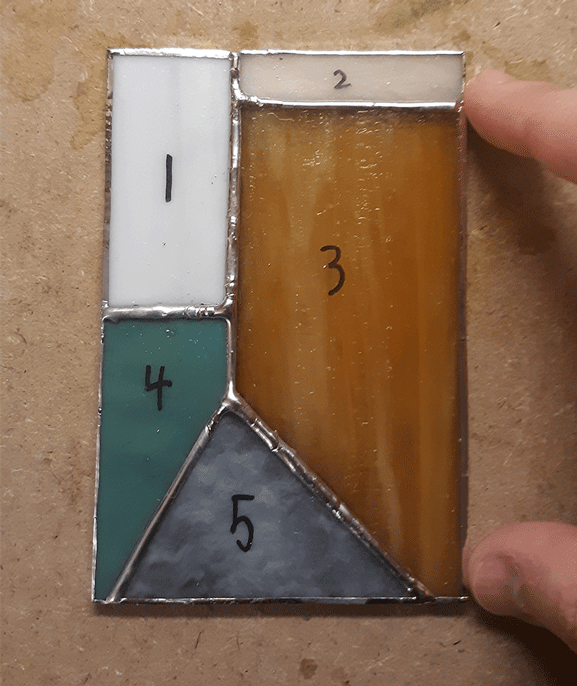
Now that we’ve set up our workstation for it, it’s time to start soldering your project! To better explain some of the processes involved in this week’s post, I’ve taken some scrap pieces of glass I had laying around and constructed a little demo project.
Note: Remember to make sure you’re in a well ventilated room when you plan to solder. The fumes immitted due to melting solder contain toxins that shouldn’t be inhaled.
Fluxing your Project
Use a small brush to apply flux to all the foiled edges of the piece. Flux removes oxidation and other dirt from the metals surface prior to soldering. Remember, solder will not bond with the foil unless flux is applied to it first.
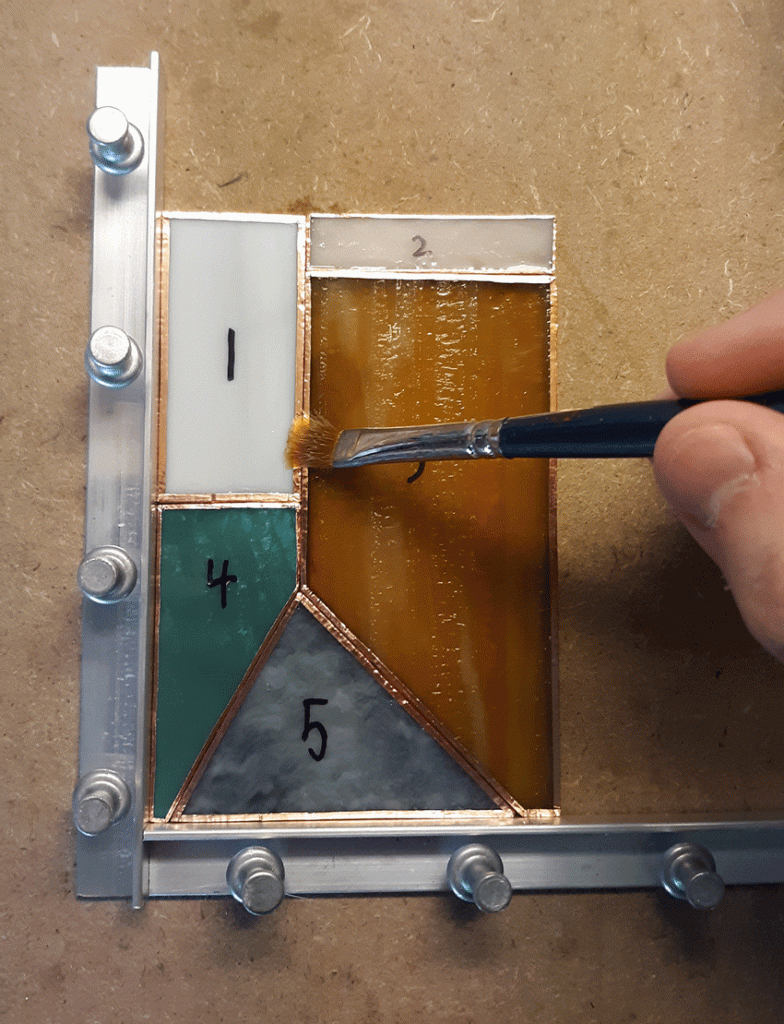
Getting flux on the glass wont harm it in any way, so feel free to apply flux liberally to the foil. It’s important to note that soldering must be done within a few minutes of applying flux, otherwise the flux might evaporate and make soldering difficult if not impossible. If this happens, simply reapply flux to the needed area and continue soldering.
Tack Soldering your Project
Now what is tack soldering? Tack soldering or “Tacking” is the process of applying small amounts of solder to the joints of your project. It’s meant to hold the pieces of your project in place while you’re adding the solder lines, or “Beads” as their called, to your project.
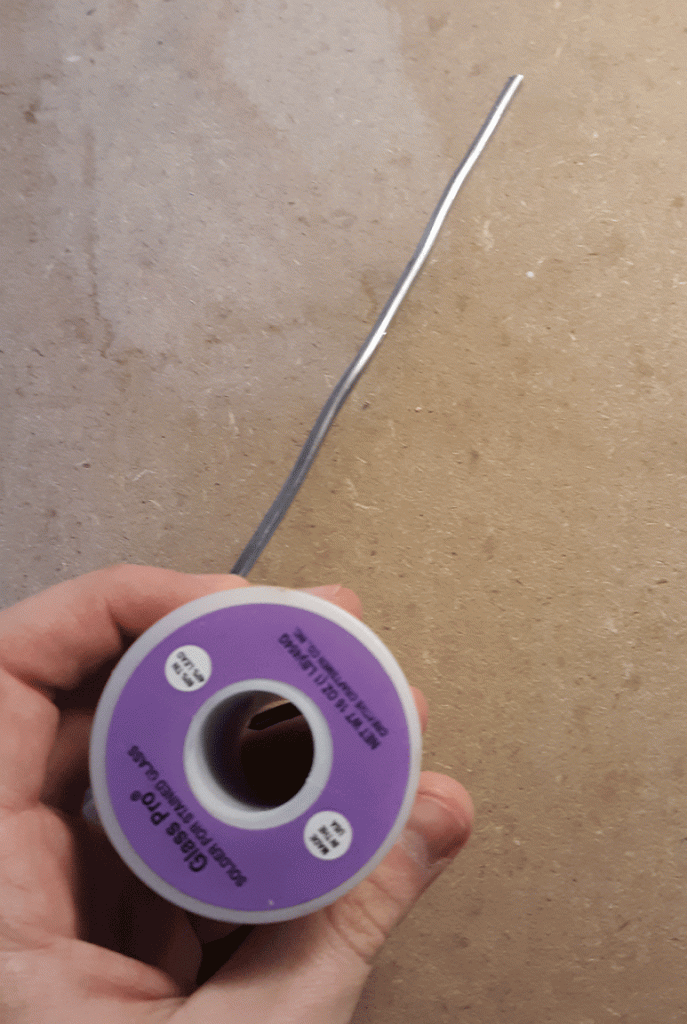
Beguine by unspooling a strand of solder, making sure it’s long enough for you to handle comfortably when reaching the different areas of the project. I preferer to keep the strand attached to the spool. Doing this allows for the spool to act as a handle while soldering. Also, if my solder strand gets too short, I just unspool more solder.
To tack solder, simply place the tip of your solder strand against the foil you intend to solder, then touch the hot iron to the solder quickly – no more than a few seconds – to melt a small amount of it. Then lift the iron a short distance, allowing the molten solder to flow onto the foiled pieces. After doing this, the solder will cool almost immediately and hold the pieces together.
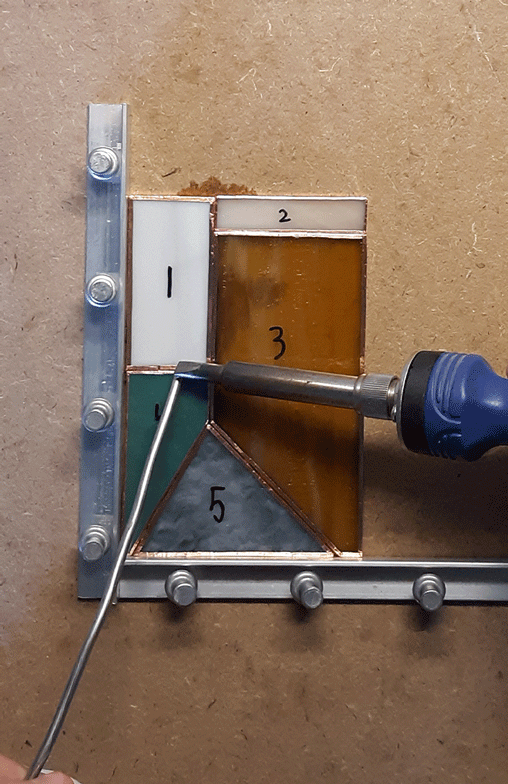
Because it’s meant to hold your glass pieces together, you don’t need to tack every part of the project. Just make sure to tack solder areas of your project where two or more seams intersect.
Once the tacking is completed, remove the jigs from around the project and place them to the side. This is done to prevent you from accidentally soldering a jig to your project.
Soldering Seams
You’re now ready to solder the seams of your project. This is perhaps the trickiest technique you will encounter during soldering, and it’ll take some trial and error to get it right. To be honest, it’s a technique I still haven’t fully gotten the hang of, so don’t feel discouraged if you’re having trouble.
Soldering along seams involves a set of two different steps: applying a proper amount of solder to a fluxed area of copper foil, and then smoothing it out along the seam to form a slightly raised line of solder called a bead. Position the end of the solder and the soldering iron tip near each other over the end of the foiled seam you intend to solder. Gently touch the tip of the solder and the iron together for an instant and remove a 1/4-inch hunk of solder. Let the solder flow onto the foil, pulling the iron towards you at a speed that allows the solder to cover the foil. Then lift the iron straight up from the solder without brushing forward or backwards, as this will create lumps and uneven spots in the bead.
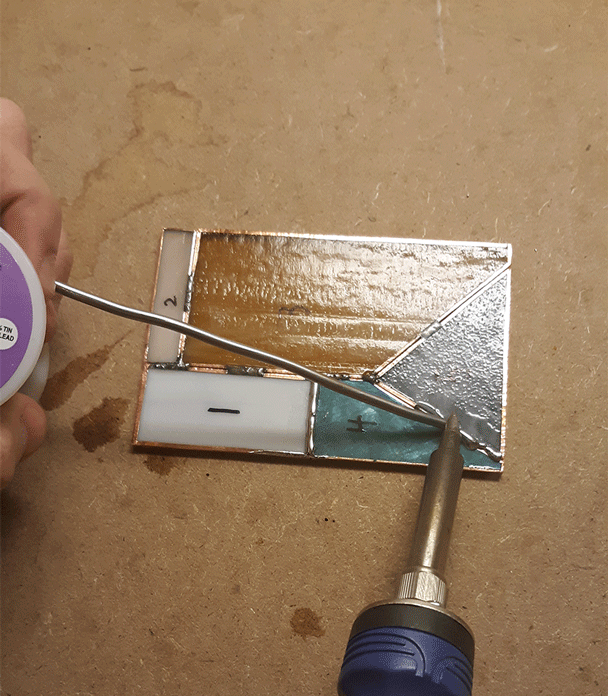
If the solder you added doesn’t completely cover the foil, melt more solder to the bead. If you apply too much solder, simply use the tip of your iron to peck away and remove solder from the very end of the bead.
Once you’ve finished making your first line, immediately reposition both the iron tip and solder strand over the next section of coper foil and repeat the process.
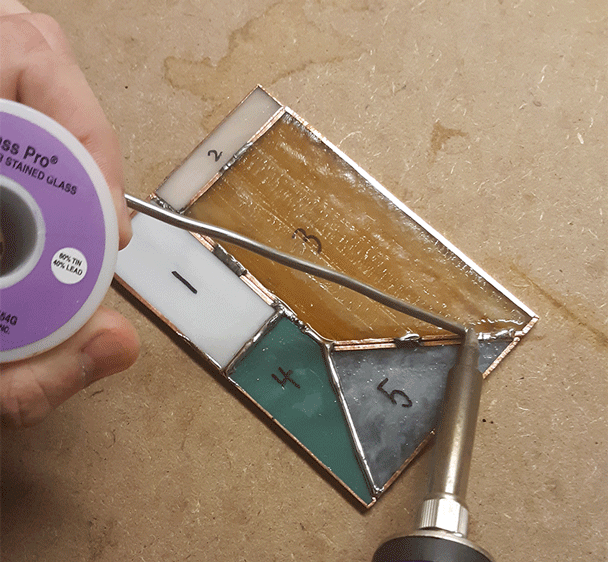
As you work your way around the project, you’ll encounter cooled areas of solder you applied earlier. To merge and old solder line with a new one seamlessly, touch your iron onto the end of the cooled solder to heat it. Immediately apply the new solder to the foil and allow it to flow smoothly to join up with the other solder.
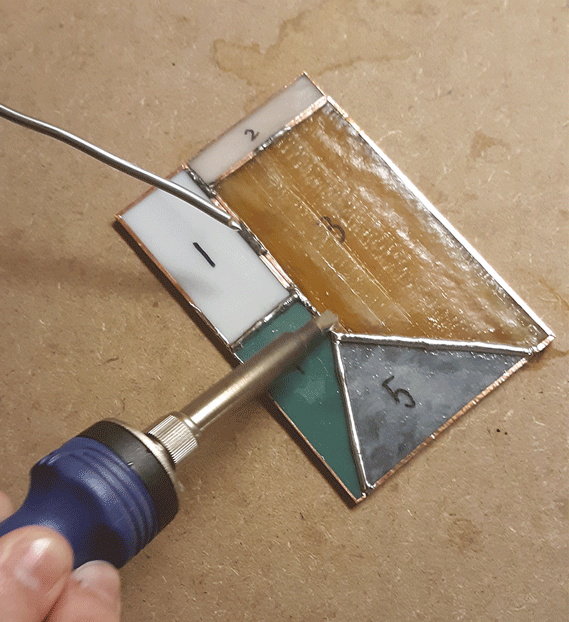
Once you’ve soldered all the seams on the front of your project, flip it over and solder the seams on the back.
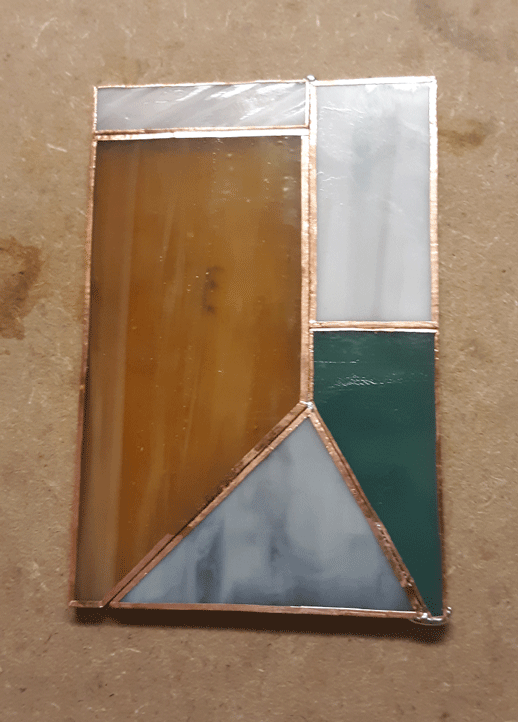
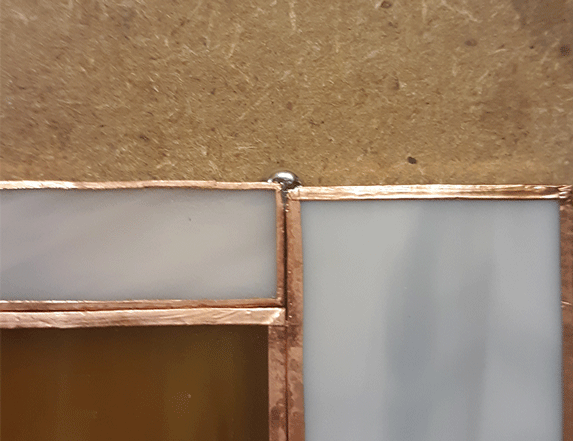
After both sides of the project have been soldered, you can correct any uneven sections of solder beads you find by simply touching the iron to the uneven area and holding it there for an instant. When making corrections, be sure to hold the iron in one spot for no longer than a second because it might overheat the foil and cause the solder on the underside of the project to re-melt. If this happens the solder on the top side of the project will become indented and a large mound or blob of solder will form at the same spot on the underside.
Additionally, make sure the foiled outer edges of the project are free of solder, particularly where a seam meets the edge. Remove any pieces of solder you find by touching them with the soldering iron.
Coating the Outer Edges
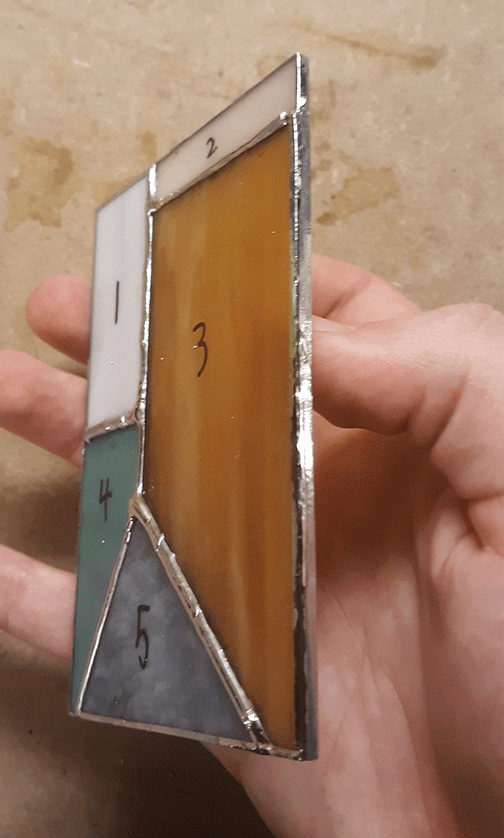
Now since I’ll be covering how to apply lead came to your project in an upcoming post, this part isn’t really necessary. But for anyone that doesn’t want to use lead came, the next step would be to coat the outer edges of your project in solder. Instead of applying beads of solder like you did on the front and back of your project, you want brush a very thin layer of solder over the remaining sides of foil. To do this, quickly tap your strand of solder to the iron tip in order to gather a tiny amount of solder. Then drag your soldering iron across the foil, almost like your painting the solder on. Once you’re done, the projects edges should resemble the images below.
Soldering, like many other steps involved in stained glass, requires practice and patience if one wishes to perfect it. Hopefully this post helps save you a lot of time and frustration when working on your own projects.
Filed under Uncategorized | Comment (1)One Response to “Solid Soldering and How to Achieve it”
When I started to learn about stain glass, the thought of soldering was quite scary. Before reading your post, I only really knew the purpose of soldering, but not how to do it. I love how created a demo project to show us the process of soldering. I learned a lot from this post and now I feel a bit better about the thought of soldering.